Image: @primarydotcom
Products you’ll need (5)
Black Panther (Group)
Wakanda forever!
-
Has instructions
-
Make together
-
No-sew
Products you’ll need (5)
Materials
For Okoye:
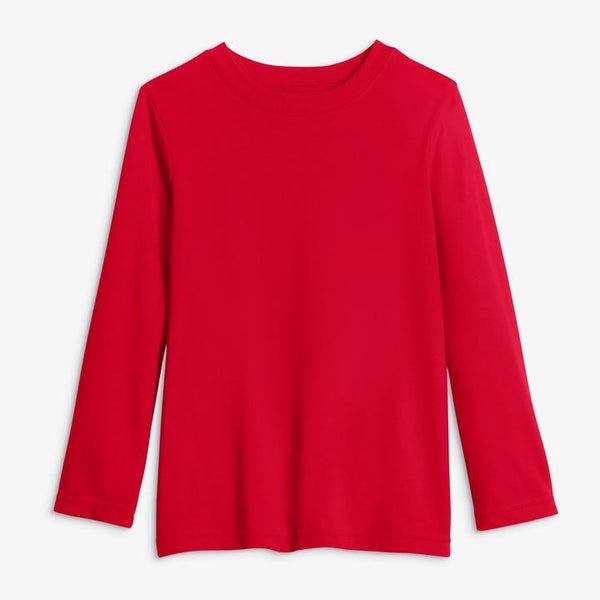
- One red kids top
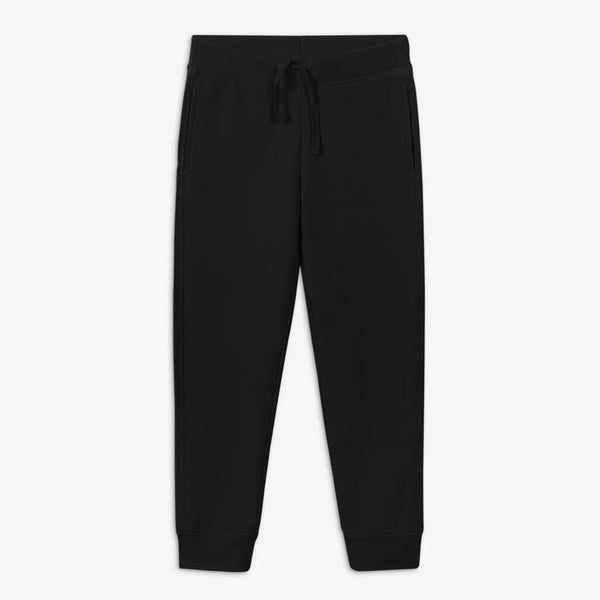
- One black kids bottom
- Dark brown felt (5 sheets 9x12 inches each)
- Light brown felt (1 sheet 9x12 inches)
- Yellow felt (4 sheets 9x12 inches each)
- Gold fabric (½ yard)
- Cardboard (small piece for the spear blade)
- Wooden dowel (36 inches long)
- Yellow pipe cleaners (4)
- Silver metallic paint
- Paintbrush
- Paint tray or paper plate
- Safety pins
- Double sided fabric tape
- Hot glue gun and sticks
- Scissors
For Black Panther:
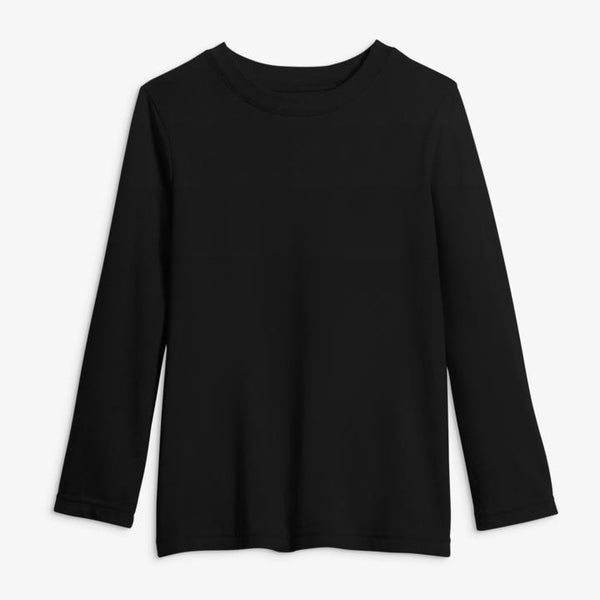
- One black kids outfit
- Black felt (1 sheet 9x12 inches)
- Gray felt (2 sheets 9x12 inches each)
- White felt (1 sheet 9x12 inches)
- Silver paint
- Paintbrush
- Paint tray or paper plate
- Black elastic
- Hot glue gun and sticks
- Double sided fabric tape
- Scissors
For Erik Killmonger:
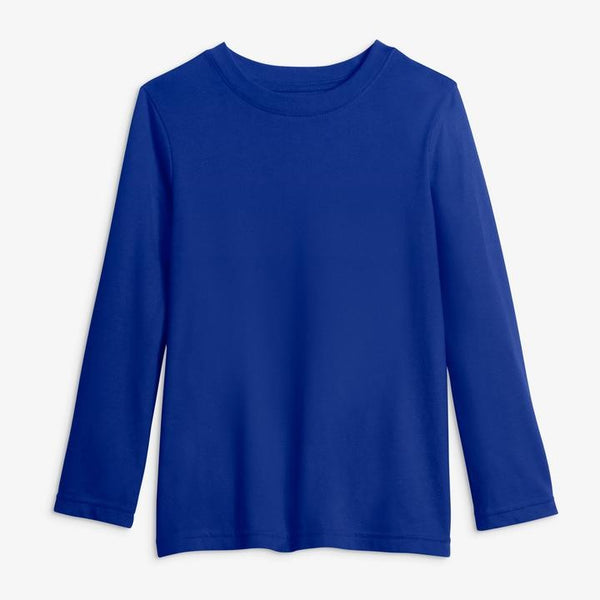
- One blue kids top
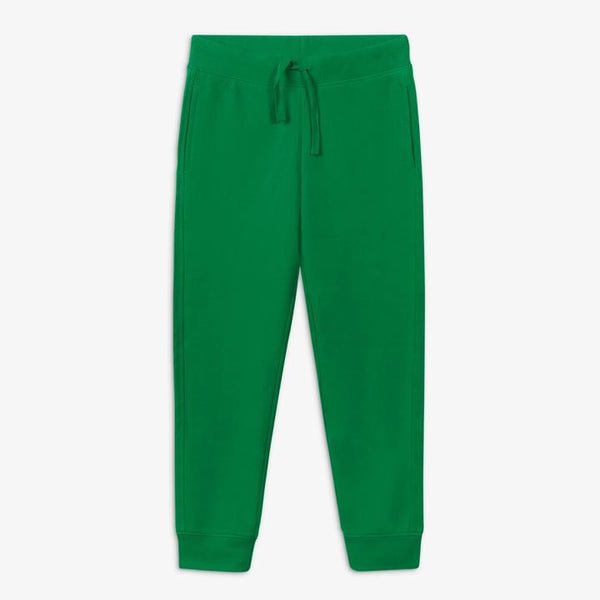
- One green kids bottom
- Black felt (4 sheets 9x12 inches each)
- Mustard yellow felt (1 sheet 9x12 inches)
- Green ribbon
- Black elastic
- Paper plates (2)
- Silver metallic paint
- Paintbrush
- Paint tray or paper plate
- Safety pins (optional)
- Hot glue gun and sticks
- Scissors
Instructions
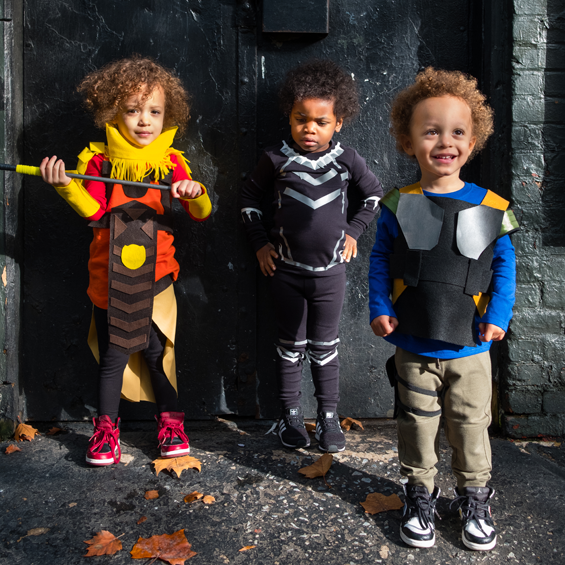
With our reusable Primary DIY Black Panther Group costume, it really will be Wakanda Forever in your house! Your kids will love getting dressed up as the legendary squad from their favorite superhero movie with our primary basics. You'll love that they'll be able to wear these cozy Primary basics this Halloween and beyond!
Okoye
For the spear:
- Paint a wooden dowel silver. Cut two pointy triangles for the spear and paint silver on both sides. Once dry, hot glue the triangles to the top of the dowel. Twist two pipe cleaners next to each other around the dowel, and repeat to make the two hand grips.
For the chest pieces:
- Cut a curved “V” shape, and three strips of dark brown felt. Attach the “V” shape to the top of the kids top, a felt strip across the waist, and two felt strips connecting the top and bottom felt pieces on the sides with fabric tape.
For the shoulder armor:
- Cut two long rectangles from yellow felt that’s as wide as the sleeve. Trim the bottom edges to a point.
- Cut four yellow felt rectangles that are a little wider than the sleeve width. Trim two rectangles to a point at the bottom - one for each side. Start with this pointed piece, and glue just the top corners of the rectangle to the middle of the long base piece. The felt will dome and have more shape.
- Glue three more rectangles in tiers and just at the top corners to the base felt.
- Attach to the top of the shoulder with fabric tape and it will curve and dome over the shoulder like the real armor piece!
For the wristbands:
- Cut two long rectangles to fit around the wrists and attach with fabric tape.
For the center belt:
- Cut two long strips of dark brown felt and glue together to make one long length. Trim to the length needed for the center belt piece to hang from the waist to the knees. Cut the top and bottom edges to a point.
- Cut wide “V” shapes to match the width of the belt from light brown felt. Cut three smaller triangles and glue to the top of the belt. Glue the wide “V”‘s to the rest of the belt with space in between like stripes.
- Cut an oval from yellow felt and cut two pointy ears at the top. Glue to the center of the belt near the top. Glue this center belt piece to the horizontal felt chest piece.
For the belt and skirt:
- Cut two long dark brown felt strips and glue together to make one long belt, enough to wrap around the waist. Cut the gold fabric in a large “U” shape and glue to the belt. Attach the belt around the waist with safety pins or fabric tape.
For the neck piece:
- Cut a yellow rectangle to fit loosely around the neck. Cut another rectangle from yellow felt and fringe cut the bottom edge. Glue the fringe piece to the center of the neck piece and attach around the neck with fabric tape.
Black Panther
For the mask:
- Cut a sheet of black felt into an oval shape with the top a little wider than the bottom.
- Fold the felt in half lengthwise and cut along the bottom fold from the chin to the nose and along the top fold about 3-4”. These slits will give the mask more shaping around the forehead and mouth.
- Unfold the mask and overlap the bottom slit edges a bit and glue together to shape the mouth. Do the same for the top slit to shape the forehead.
- Place mask over the wearer’s face and use fabric chalk to mark the eye openings. Cut out eye openings.
- Use gray paint and paintbrush to paint the detail lines on the mask as shown in the photo.
- Measure the wearer’s head and cut a length of elastic 1-2” shorter than the measurement. Hot glue each end of the elastic band to either side of the mask at the level of the eye holes on the back side.
For the ears:
- Cut two matching rounded corners 2”x3” rectangles for the ear bases.
- Cut two matching 1 ½ “ tall at the point, and about 5” long triangles for the pointed ears that will curve around one of the 2” and one 3” edge of the rectangle.
- Glue the triangle ear standing up on the flat rectangle ear base. Glue to either side of the top of the mask.
For the final touches:
- Use gray felt to make the geometric line details of the costume on the kids top and bottom.
- Use white felt to make the spikey metal details around the collar, arms, and legs of the kids top and bottom.
- We stuck down the straight lines first with fabric tape, then cut out longer triangles for the spikes. Refer to image of the Black Panther costume in the picture for the detail lines.
Erik Killmonger
For the chest plates:
- Cut two chest plates from paper plates and paint them silver. Set aside to dry.
For the vest:
- Lay a sheet of 9x12 inch black felt over the kids top and cut out shoulder and waist straps from the mustard yellow felt. Lay in place.
- Cut a black belt from felt and two smaller rectangles for the “belt loops”. Cut two black felt straps for the waist straps and two straps for the shoulders.
- Glue three strips of green ribbon to each shoulder strap.
- Glue all the straps, belt loops, and belt to the main rectangle of felt.
- Glue the chest plates to the top of the vest piece.
- Flip the vest and tee over to the back and glue the straps on the back to another 9x12 sheet of black felt.
- Cut the back piece up the center for an opening and glue a felt strip along one edge for extra room to secure the vest around the torso. Use fabric tape or safety pins to secure.
For the thigh pouch:
- Cut two matching long black felt rectangles. Hot glue 3 edges together and glue a smaller flap at the top. Cut two matching lengths of black elastic and hot glue to the black rectangle to fit over the thigh.
Pro-Tips
- For some extra help, check out our DIY Okoye, DIY Erik Killmonger, and DIY Black Panther easy DIY costume videos!
