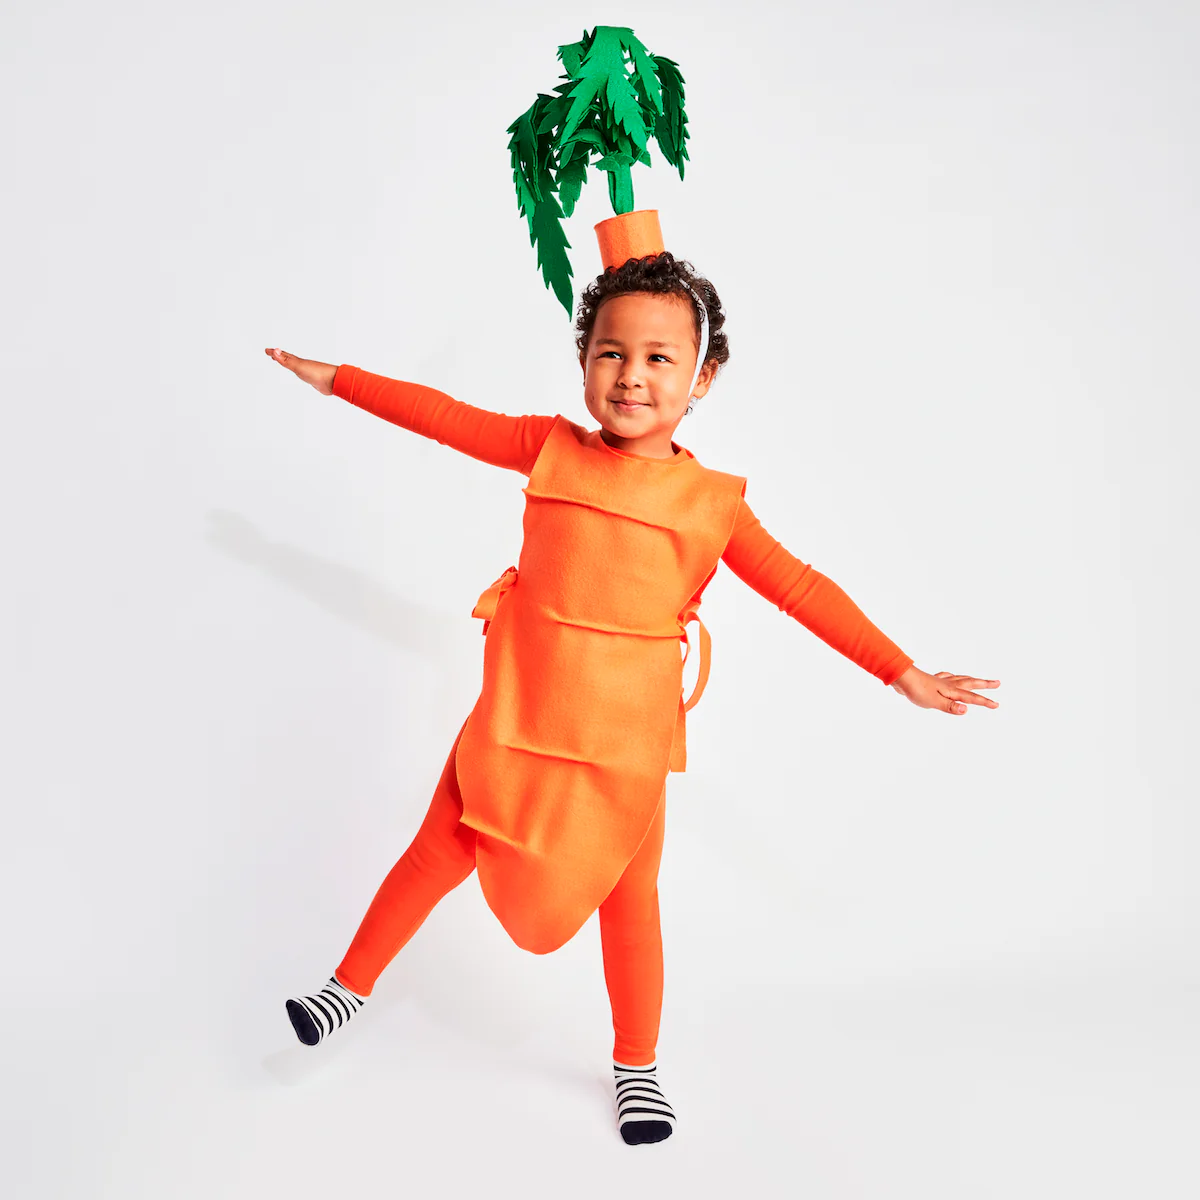
Image: @primarydotcom
Products you’ll need (2)
Carrot (Kid)
If you carrot all about a simple DIY costume.
-
Has instructions
-
Make together
-
No-sew
Products you’ll need (2)
Materials
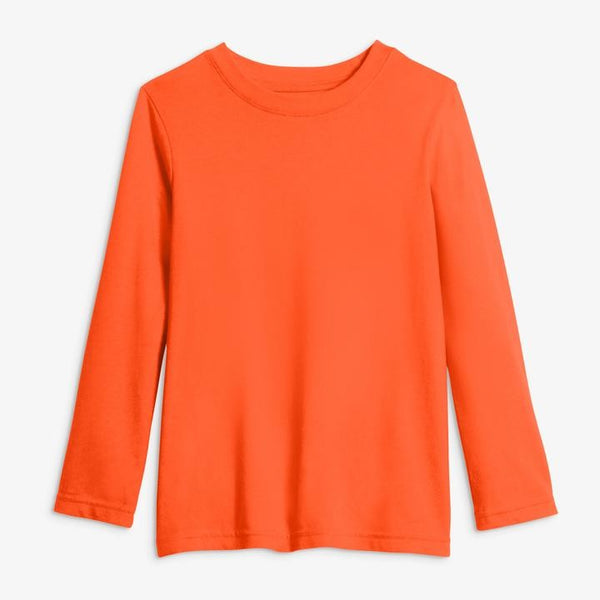
- One orange kids outfit
- Orange felt ( ½ yard, with 72" width)
- Green felt (½ yard, with 72" width)
- Cardboard (one 3”x10” sheet, two 4” squares)
- Sturdy wire
- Elastic band
- Takeout chopstick (optional for headpiece center structure)
Tools
- Hot glue gun and sticks
- Safety pins
- Hobby knife
- Scissors
- Wire cutter and pliers
Instructions
Bring your favorite vegetable to life with our easy DIY Carrot costume! With our reuseable Primary essentials and simple instructions, you'll be ready for Halloween in a snap! And who knows? This could be the beginning of a lifelong love of vegetables!
For the headpiece:
- For the carrot stems, cut 3 pieces of wire 12” long each. Use pliers to curl the ends in.
- Cut 6 sheets of 8”x18” green felt. Sandwich and glue one wire lengthwise in the middle between 2 sheets of felt.
- Cut the felt along either side of the wire stem for 5-6” from the base, then cut small pointed leaves branching out from the center stem. Make 2 more stems.
- For the stem base, roll the 3”x10” sheet of cardboard into a cylinder and hot glue together. Cut and glue a cardboard circle to the top of the cylinder.
- Cut and glue another cardboard circle inside the hat an inch from the bottom edge.
- Use a knife to cut out a small X in the center of the inside circle.
- Use orange felt and hot glue to cover the cardboard hat. Cut a small X on the center top of the hat.
- Push the 3 carrot stems through the top and middle circles and hot glue into place. If needed to help the stems stand up taller, push a chopstick through the center and hot glue the felt stems around the stick to hide it.
- With a knife, make a 1” wide horizontal slit on either side of the hat near the bottom.
- Cut and thread an elastic band through the slits so that the hat fits over the child’s head. Knot the elastic together at the top and hide under the hat.
For the body:
- Determine the length and width you’d like the carrot to be. Fold the orange felt so you have 2 layers of this width and length.
- The folded edge is along the width edge. Cut a small half circle neckline at the top center folded edge, and cut the carrot body to a tapered rounded point at the bottom.
- Cut a vertical slit from the back neckline to make the opening easier to get into. Safety pin the back together when wearing.
- For the carrot “wrinkles”, lay a horizontal line of hot glue across a section of the felt on the back side.
- Fold and press the felt together to make a “wrinkle” that will show on the front of the felt. Make as many “wrinkles” as you like along the carrot body.
- For the torso ties, Cut 4 strips of orange felt and hot glue 2 strips to each side of the carrot - one for the front carrot flap, and one for the back. Tie together to hold the costume around the body.
Pro-Tips
- Have a baby that wants to be a carrot too? Check out our DIY baby Carrot costume!
- Have other little ones that want to be vegetables? Check out our DIY Broccoli, DIY Corn, DIY kid Peapod, and DIY Avocado costumes!

