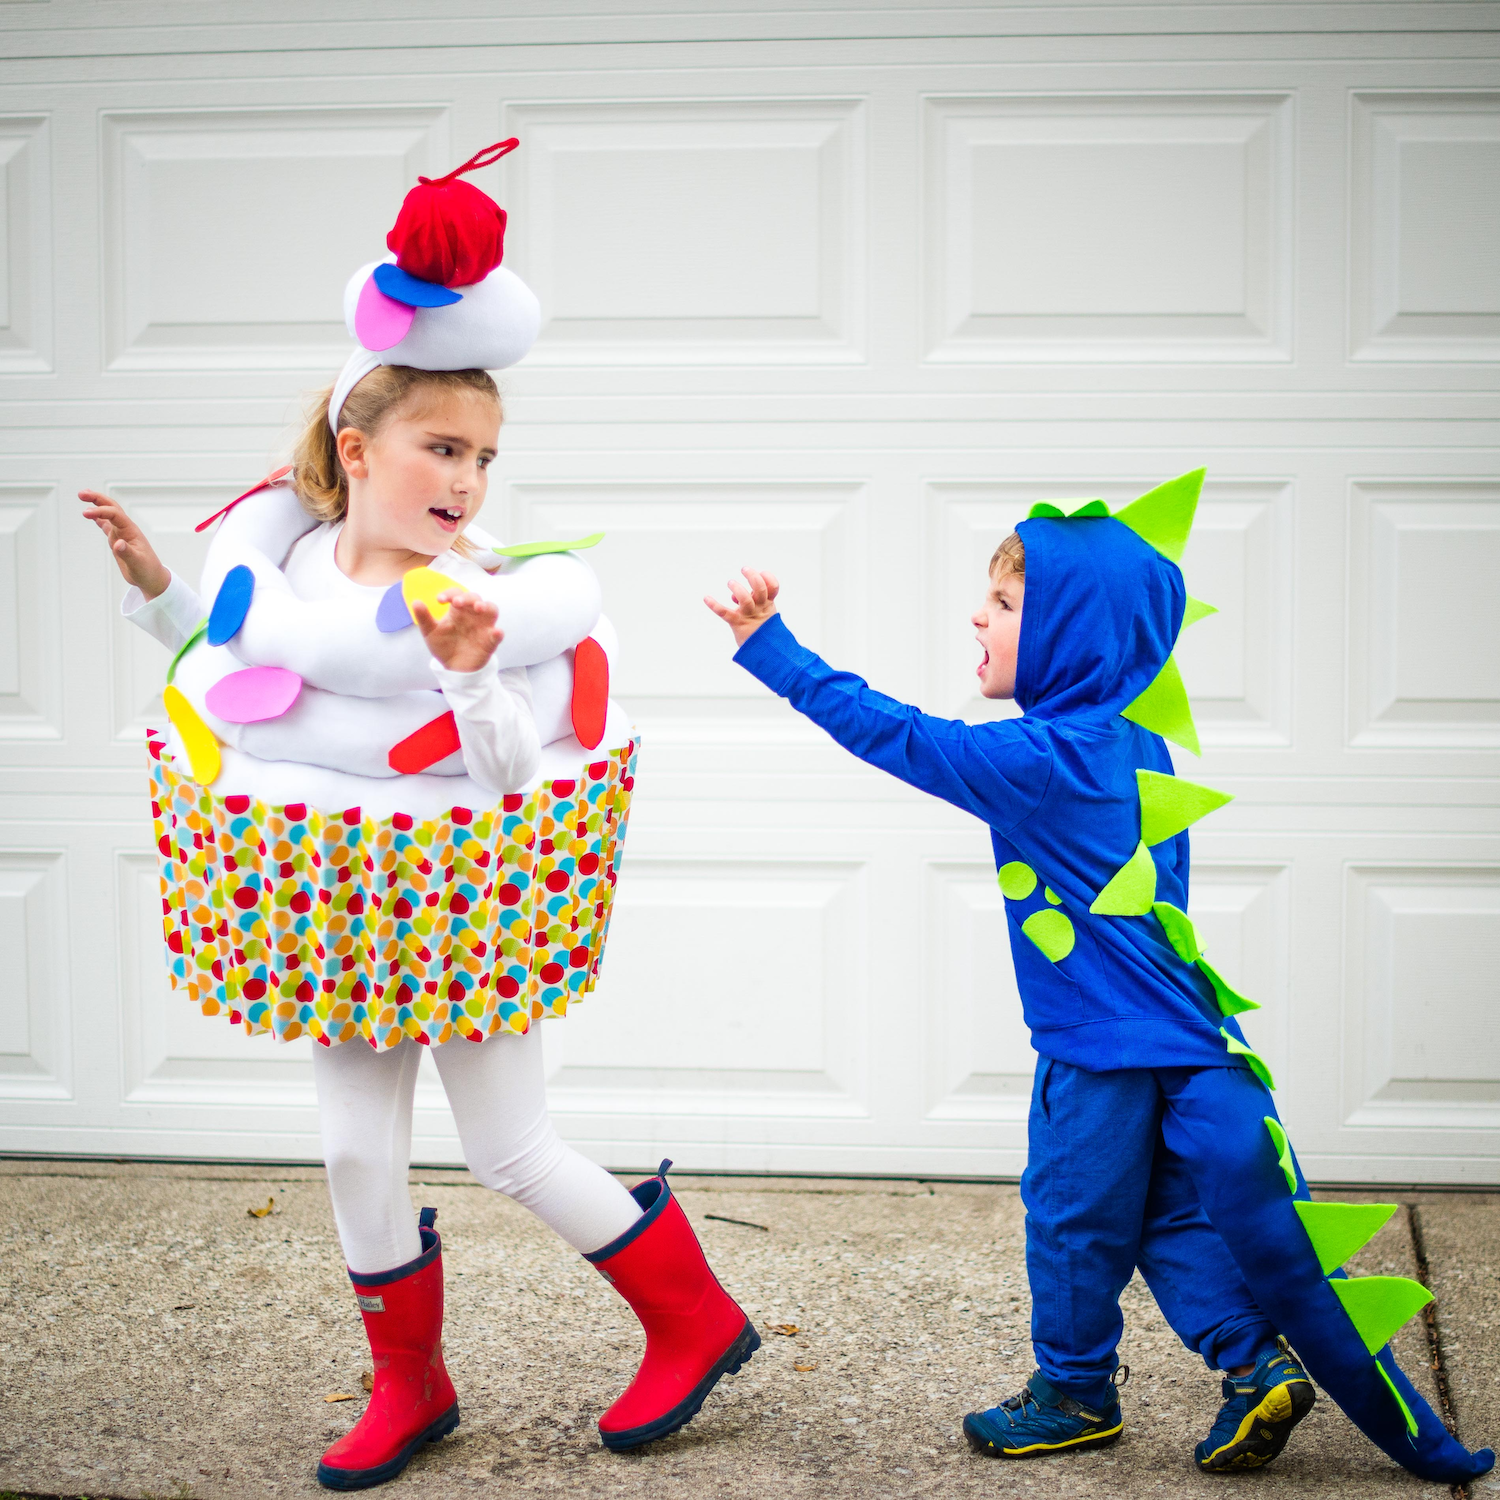
Image: @homemakershabitat
Products you’ll need (4)
Cupcake & Dino
-
Has instructions
-
Make together
Products you’ll need (4)
Materials
For Cupcake:
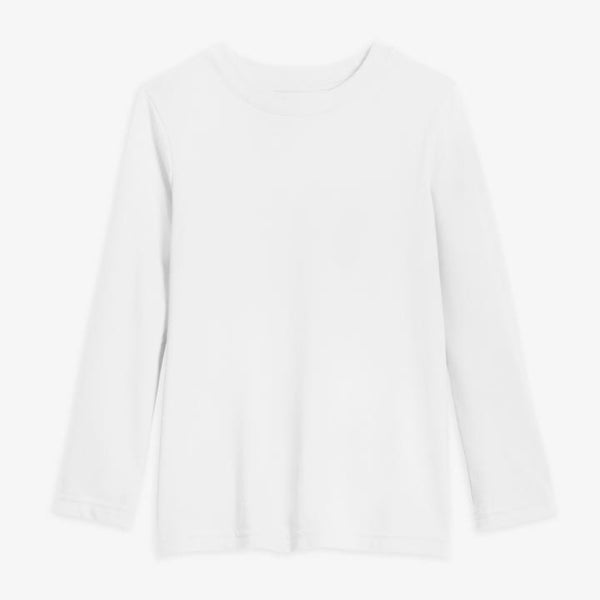
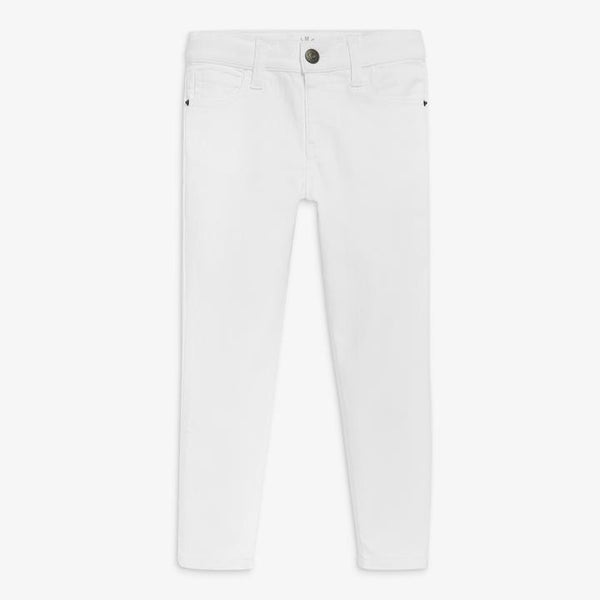
- One white kids outfit
- Round plastic laundry basket
- White duct tape
- 2 pairs adult-size white tights
- Fabric Batting
- Hot-glue gun and glue sticks
- Multicolored craft foam
- Wrapping paper
- 2 pieces of poster board
- 1 Red pipe cleaner
- 1 Round foam ball
- 1 large piece of red felt
- Safety pins
- White cotton headband
- Red, white or silver boots or shoes
For Dino:
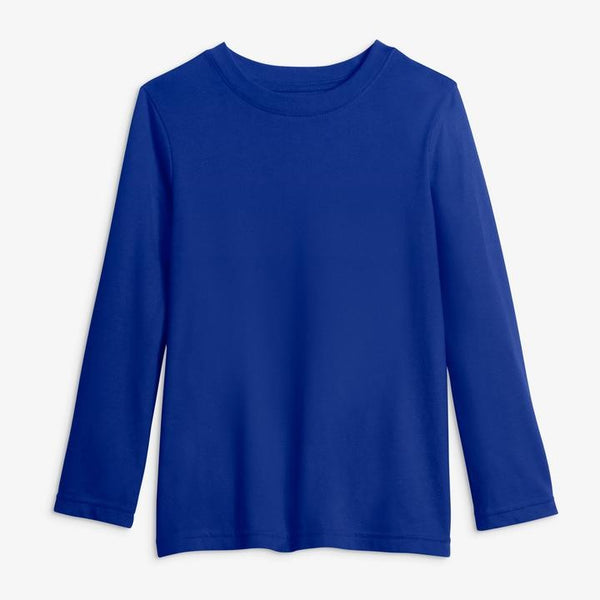
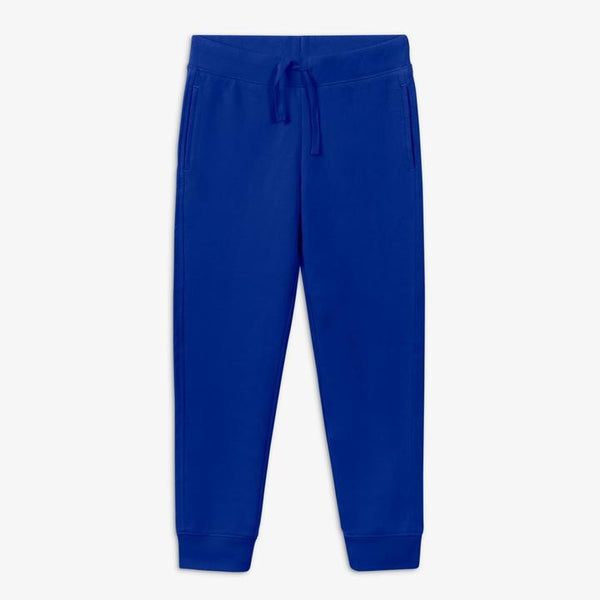
- One blue kids outfit
- 13 sheets of your choice color felt
- 1 roll Heat & Bond iron-on adhesive
- Hot glue gun and glue sticks and/or sewing needle and spool of matching color thread
- 20 Safety pins
- 1 bag of fiber fill fabric batting
Instructions
Cupcake and Dino are two unlikely siblings trying to dominate the General Services industry in their Netflix show – but your two kiddos will easily dominate the store-bought costume industry with our Primary DIY Cupcake & Dino costume! Bring these playful and ambitious characters to life this Halloween with our Primary essentials.
Cupcake
For the full how-to instructions:
- Check out our DIY Cupcake costume page!
Dino
For the spikes:
- Follow package instructions to affix Heat & Bond iron on glue to the back of each sheet of felt.
- To make the spikes, fold 12 of the felt sheets long ways and trace triangles approximately 3″ in length. Cut the triangles out and make sure the folds are at the bottom of the triangles. (When opened flat, they should create diamonds.)
- After they are cut out, align 8 of them along the seam on the hood of the sweatshirt and all the way down the back with the Heat & Bond paper facing OUT (align the center fold with the seam). At this point you should have a bunch of sideways diamonds lined up with the seam on top of the hood and running all the way down the back.
- Attach the middle of each diamond to the sweatshirt with a safety pin pushed through from inside the sweatshirt or by sewing down the middle of the felt all along the hood and back.
- To finish the spikes, tear off the heat and bond paper and iron the two sides of each triangle together so that they stick straight up.
For the tail:
- To create the tail, spread the bottoms out flat and fasten the remaining 4 tail spikes to the outer edge of one of the legs with safety pins or by sewing them on. Remove the Heat N Bond paper and iron the triangles shut to create the spikes.
- Next, sew or pin the bottom of the leg hole closed so that the seam is on the inside of the bottoms.
- Stuff the leg with batting until it resembles a tail shape. Pin the top two corners of the waistband together and pull the extra leg through the hole created by the pin.
For the spots:
- Cut the remaining sheet of felt into circles of various sizes and shapes, remove Heat N Bond paper from back and iron them onto the front of the sweatshirt give your Dino some “spots”.
- Finally, dress your child in the top and bottoms. To put on the tail, use the extra legging leg as a belt.
- Position the tail at your child’s bottom. Wrap the extra legging leg around your child’s waist and use a safety pin to fasten it to the tail on the other side.
Pro-Tips
- For Pro-Tips on Cupcake, check out our DIY Cupcake costume page!
- For an alternate way of creating Dino that's rewearable and no-sew, check out our DIY Dinosaur costume!
- For a DIY baby Dino, use a blue baby outfit!
