Image: @h_jack
Products you’ll need (4)
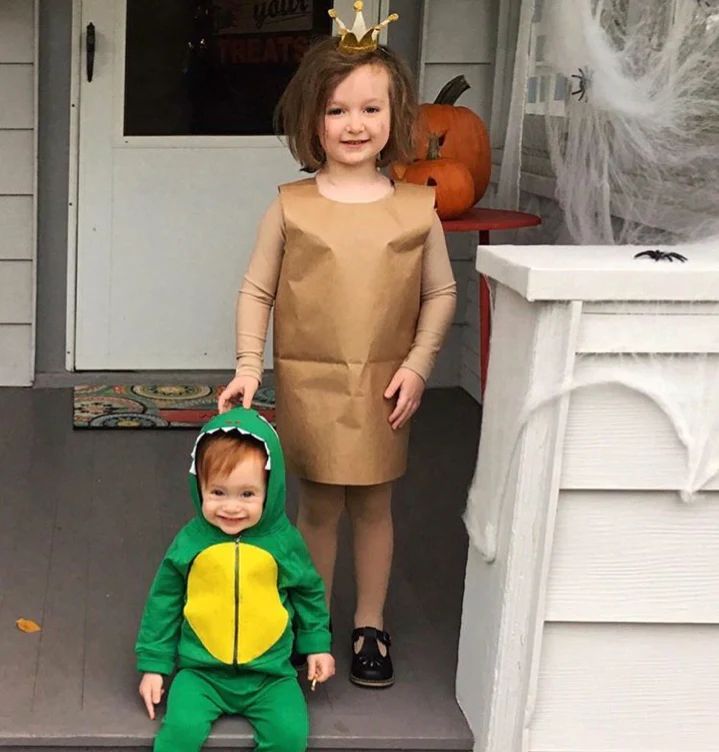
Paper Bag Princess
-
No-sew
Products you’ll need (4)
Materials
Dragon
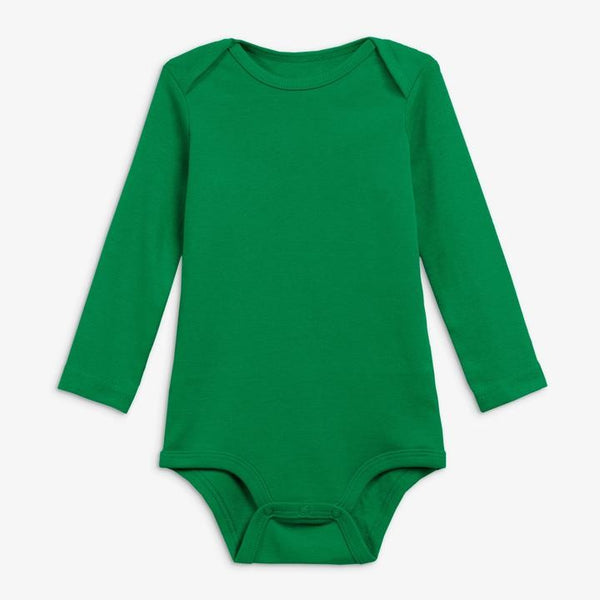
- One green baby outfit
- Yellow felt (2 sheets 9x12 inches each)
- White felt (1 sheet 9x12 inches)
- Green felt (3 sheets 9x12 inches each)
Paper Bag Princess
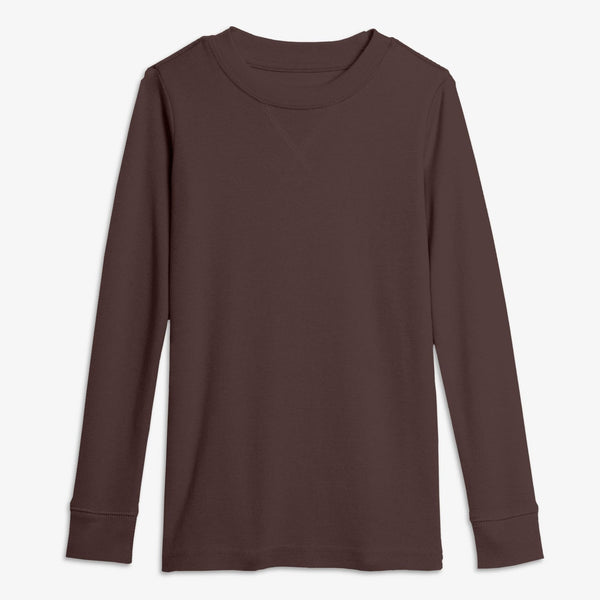
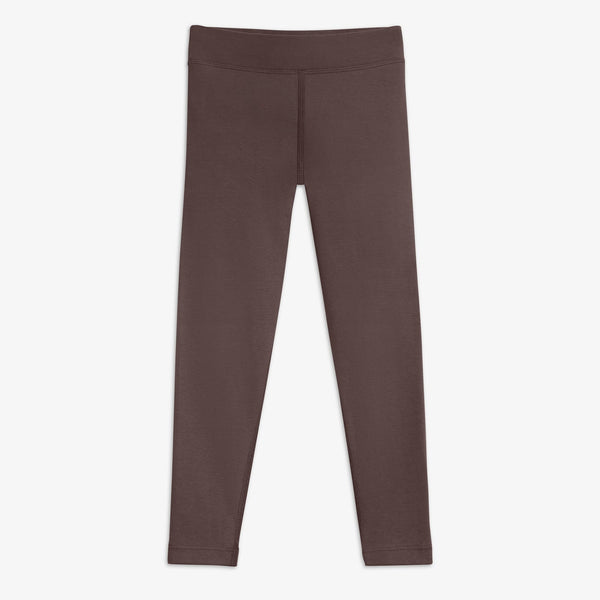
- One brown kids outfit
- Black marker
- Red pom poms
- Brown paper grocery bag or brown kraft paper
- Gold cardstock paper
- Stuffing (newspapers, felt scraps, or polyfil)
Tools
- Double sided fabric tape
- Hot glue gun and sticks
- Scissors
Instructions
For the Dragon's face:
- Step one: Cut circles from white felt for the eyes and use a black marker to draw in the pupil. Cut a strip of white felt for the teeth and cut out triangles along one of the long edges.
- Step two: Attach the eyes to the hood and teeth to the edge of the hood with double sided fabric tape.
For the Dragon's belly:
- Step one: Cut a large oval from yellow felt.
- Step two: Attach it to the hoodie with double sided fabric tape.
For the Dragon's tail:
- Step one: Fold a long length of green felt in half and cut an elongated triangle for the tail with the folded edge as one of the triangle sides.
- Step two: Stuff with anything you have on hand - tissue, paper towels, newspaper, or even felt scraps! Hot glue the remaining edges together.
- Step three: Hot glue red pom poms for the scales along the tail and safety pin the tail to the base of the hoodie.
For the Dragon's head and back scales:
- Step one: Cut a skinny strip or two of green felt and hot glue red pom poms in a line for the scales.
- Step two: Attach to the hood and down the back with double sided fabric tape.
For Princess's the dress:
- Step one: Use a brown paper grocery bag and cut out holes for the head and arm openings. If using brown kraft paper, cut the paper in two rectangles to the length needed for your child.
- Step two: Cut out a “U” shape at the top for the head opening, and glue the shoulder edges and sides together, leaving arm openings at the top.
For the Princess's the crown:
- Step one: Cut a long rectangle from gold cardstock and cut out triangles from one long edge to make the points on the crown.
- Step two: Cut little circles from gold cardstock and glue to the points of the crown. Roll and glue the ends together to complete the crown.
