Image: @kelsey_dewolf
Products you’ll need (2)
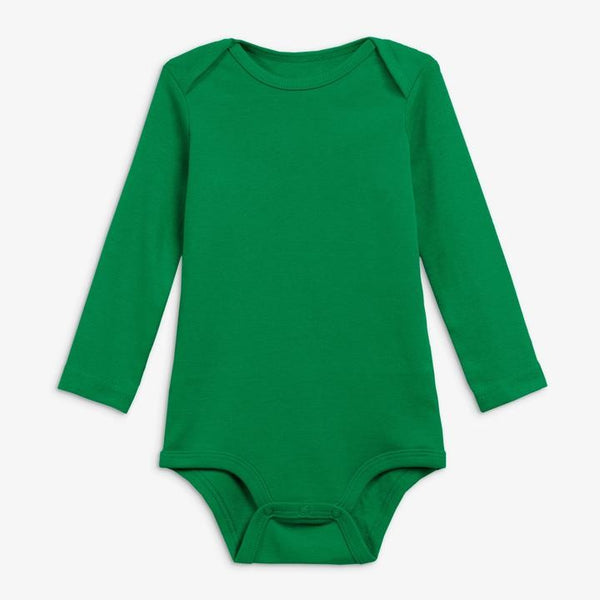
Peter Pan (Baby)
Fly your baby to Neverland with this adorable Peter Pan Costume
DIY time is about
45 minutes
Products you’ll need (2)
Materials
Instructions
- Cut green fabric: Measure and cut a rectangle of green fabric that, when folded in half "hamburger style" will reach from your baby's neck to hip.
- Cut small circle in fabric: While the fabric is folded in half, cut a small half circle into the fold of the fabric for the head opening and keep cutting as needed (remember, you can always cut more if needed, but you can't undo a cut that's already done!)
- Create the collar: Cut a vertical line down the front of the opening to create the "collar" look of the tunic.
- Cut felt for belt: Cut a long strip of brown felt and tie around the waist for a belt.
- Glue on brown felt strips: Cut two small thin strips of brown felt and hot glue to the front of the tunic in an "X" shape.
- Cut zig zag edges: Cut a zig zag around the sleeve edges and bottom edges of the tunic.
- Form the hat: Cut two matching half circles with a point on one side from green felt (this should somewhat resemble a shark fin.)
- Glue hat edges together: Hot glue the top of the hat edges together. Cut long triangular flaps for the folded up brim and hot glue around the bottom edge of the hat.
- Cut red feather: Cut a red feather from felt and glue to one side of the hat, or you can buy a red feather at any craft store to add.
Pro tip:
- Find another magical DIY in our list of DIY Disney-inspired costumes.
- Need multiple costumes this year? Get inspired with our adorable baby DIY Halloween costumes.

