Image: @drlilian
Products you’ll need (2)
Piñatas
The best way to carry LOTS of candy.
Products you’ll need (2)
Materials
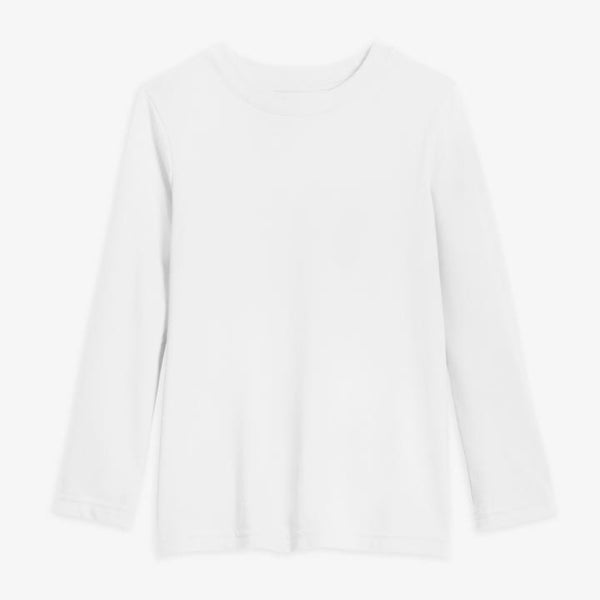
- Two white kids top
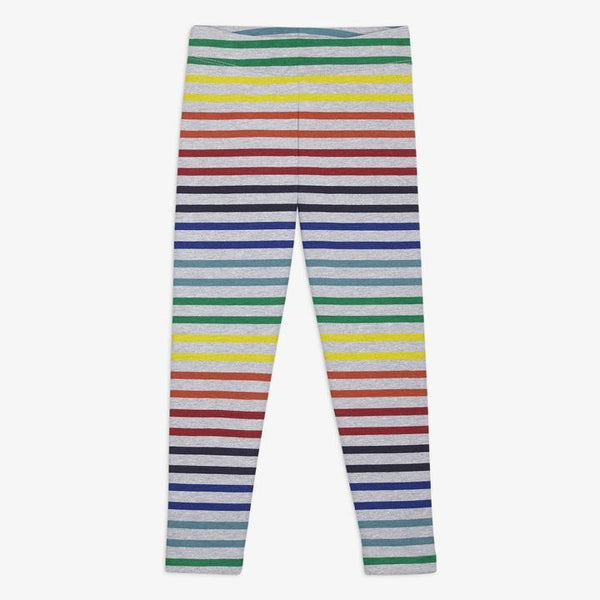
- One rainbow kids bottom
For Donkey Pinata:
- Cardboard boxes
- Colorful tissue paper
- Painter’s tape or masking tape
- Tacky glue
- Brown packing tape
- A hot glue gun
For Star Pinata:
- Newspaper
- Flour
- Tissue paper
- Paper bags
- Beach ball
- Brown packing tape
- Chopsticks
- Hot glue
Instructions
Bring the party wherever you go!
Donkey Piñata
- We first took the measurements of our girls to size accordingly. The size came out to be a height of 29 in and a width of 13.75in. This gave enough room for their feet and body to move freely inside the costume.
- Use these measurements as a guide for the profile of the donkey.
- You can search the internet for inspiration or from memory for profiles of piñatas and roughly draw your design based on the measurements of your child.
- We directly sketched our design on our cardboard boxes but feel free to use old gift wrap / poster paper as a template.
- Once you’re happy with your design trace it twice onto pieces of cardboard. These pieces will be the walls of the costume.
- The tricky part now comes with making the parts that connect the two walls together. Since our girls measured 10in across their chest the connecting parts were sized to roughly to that measurement.
- If you follow our design you can see the connecting parts were a series of rectangles to make sizing easier.
- Use two paper towel tubes to join the two side profiles while you size the connecting parts. We marked our tube to 10in and then made small slits quarter down the mark to make gluing easier. These little slits fold out to help attachment.
- When all your pieces are ready use the masking tape or blue tape to see the full construction and to make any final attachments.
- We also made our parts with extending inch wide fold to help gluing process but you can easily attach the edge directly.
- For the rounded portion of the donkey we used thin cereal box cardboard.
- Once all connected we used the brown packing tape to clean up the edges of our donkey and to bridge any gaps like in the chest and in-between the ears.
- If your box has dark colors or writing you can paint it with a base coat of white.
- For the tissue we used around 4, 20 count multi-colored packs. Separate the paper by colors and fold in half.
- Cut along the fold and then fold along the length again and cut. Now you make one final fold to have a double layer fringe. (A sharp non-serrated knife along the edge can help quicken the cutting process.)
- Once you have all your strips cut the fringe. Make cuts along the open edge just make sure the leave enough space on the folded edged for gluing.
- We started at the feet with our pattern and did two rows of color before switching to the next.
- For glue we used tacky glue that has been thinned slightly. You want your glue to flow but not run. The tissue paper will get gummy if the glue is too watery.
- Once the complete made our straps and glued to the inside of the opening and you’re done!
Star Piñata
- Find a beach ball that is wider than your child. This will be the mold for the piñata.
- Cut your newspaper into strips and prepare your paste mixture. For ours we did a one to one of flour and water. You want it to slightly thinner than pancake mix.
- We hung our ball for a better application and drying but you can work in sections and rotate it as it dries.
- Dip the strips into the mix and scrape off the excess with your fingers. Don’t let the strips sit in the mix as they will start to rip and get mushy.
- We did two layers with a day of dry time followed by 2 more layers. Don’t don’t fully cover the top if you would like to keep your ball.
- Once all completely dry deflate your ball and pull it out.
- Measure your child and with a box cutter cut a hole that’s a little larger than your child’s circumference.
- For the stars’ points we used a party hat as a guide to make them larger.
- Open your party hat and lay it flat on your paper bag.
- Extend the sides of the hat to make it larger, cut and use tape to shape.
- To make the cones more rigid we used the packing tape to cover.
- To affix the cones we made cardboard tabs glued inside the cone and folded out. Glue the tabs to the ball.
- The cones had the same fringe process as the donkey piñata, start at the tip and work around.
- For the streamers take tissue paper fold in half and cut into long strips with leaving an uncut edge.
- Cut the chopstick into 3 inch pieces. Wrap the open edge around the chopstick dipped in glue.
- If your cones are pointy cut the tip and insert the streamer stick. You can use some glue to secure but they hold in place well.
- For the body of the piñata we did alternating squares of tissue folded slightly to look like bunches. Glue and repeat.
- The inside edge may feel a little rough, cover with felt or brown packing tape.
- Measure where you want your piñata to sit on your child and make straps accordingly.

