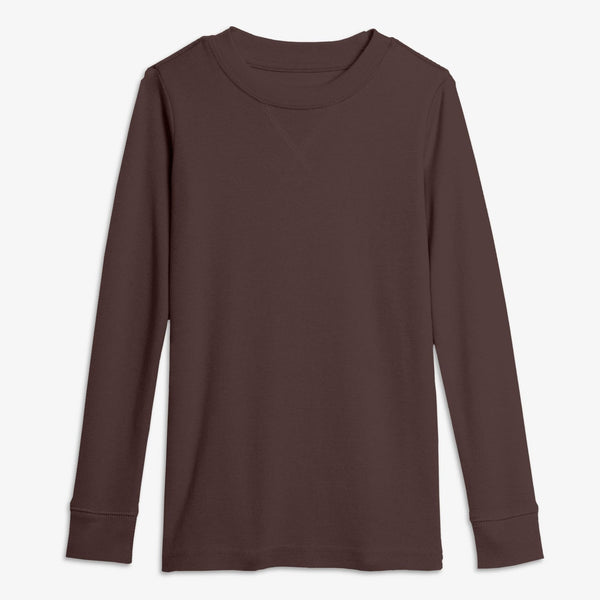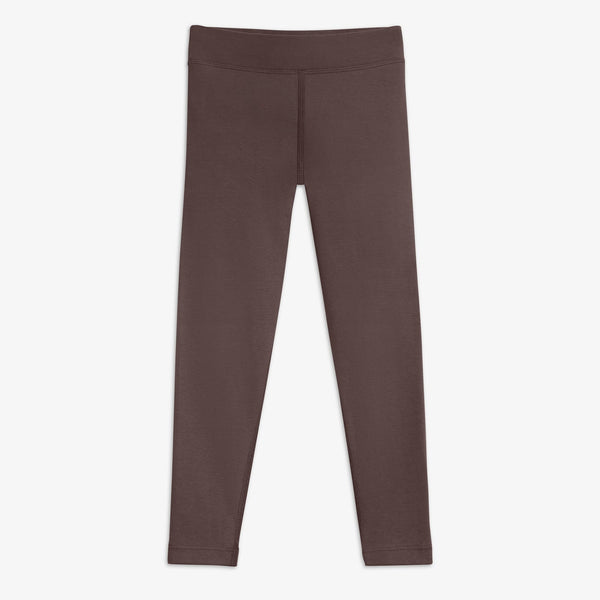
Products you’ll need (2)
Sand Dune
Products you’ll need (2)
Materials
- One brown kids outfit
- Tan felt (1 yard)
- Medium brown felt (1 yard)
- Sturdy wire
Tools
- Wire cutters
- Hot glue gun and sticks
- Scissors
- Safety pins
Instructions
For a Sand Dune costume, we’re imagining it as a large tent-like costume that sits on the shoulders and widens out at the bottom, which is held out in shape with wire. A sand dune ridge will be created by cutting and glueing two curved seams together to form a peak. One side is in shadow and is made with medium brown felt, and the other side is in the light and is made with tan felt. The lighter side will have medium brown “stripes” of iconic sand dune windswept lines.
- Take measurements: Measure the child from the neckline to the ankles, or where you’d like the bottom of the costume to end. Cut two large matching half circles from each color felt with the radius of this number. Make a neck opening in each piece by cutting a half circle from the straight edge of each half circle.
- Create the sand dune ridge: To make a curvy sand dune “ridge”, cut a wide curvy line from the straight edge of the medium brown felt to the neckline.
- Cut the other side of the ridge: Lay this cutout on top of the tan felt circle to trace and cut.
- Attach the sand dune: Hot glue the tan and medium brown felt curved edges together to create slightly pointed sand dune ridges.
- Mark the arm holes: Try the costume on the child to mark the arm openings. Hold the back of the costume closed to see how you like the taper of the costume. If you need to cut extra fabric from the back edges, then do so now.
- Cut the arm holes: Lay the costume flat and cut out the arm openings. Cut and glue brown felt wavy stripes to make the windswept lines on the tan felt.
- Form the base: Hot glue a sturdy wire along the inside bottom edge of the costume. Bend the wire into a circle shape when the costume is worn.

