Image: @janecan_
Products you’ll need (2)
The Flash
DIY costume done in a flash.
-
Has instructions
-
Make together
-
No-sew
Products you’ll need (2)
Materials
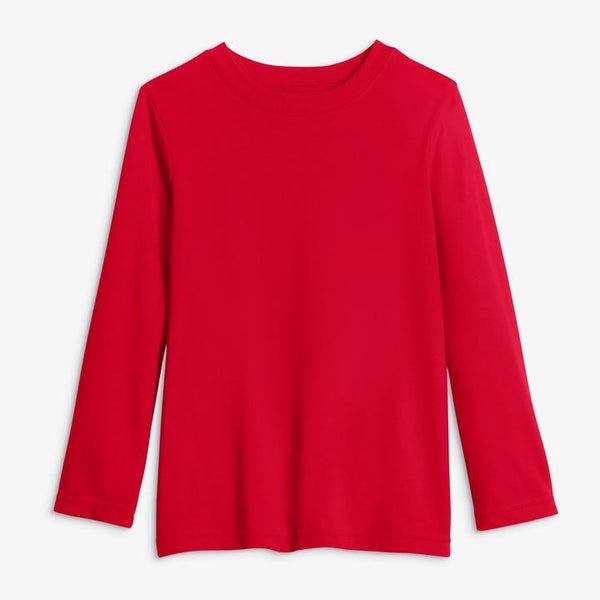
- One red kids top
- One red kids bottom
- Red felt (4 x 20 inches)
- Yellow felt (2 sheets 9 x 12 inches each)
- White felt (1 sheet 9 x 12 inches)
- Yellow electrical tape
- Printed lightning bolt image
- Marker
- Double sided fabric tape
- Hot glue gun and sticks
- Scissors
Instructions
What if we told you that we could give both you AND your kid super powers? Yours first: you can reuse your Primary essentials after Halloween, and create a winning costume in under 30 minutes! Too good to be true? Not with our simple DIY! Now theirs: with this classic DIY "The Flash" costume, they'll have the power of superspeed and get to all the neighborhood houses fast as lightning. (Not being slowed down by a sweaty, plastic costume is the key to superspeed!)
For the mask:
- Cut a red strip of felt that fits around the wearer's head.
- Place felt over the eyes and mark where the eye openings should be with a marker. Cut out the eye openings and cut a semi-circle along the bottom middle edge to reveal the nose.
- Cut two yellow flashes from felt and glue or use fabric tape to attach to the sides of the mask.
For the emblem:**
- Cut a medium sized yellow felt circle and a slightly smaller white felt circle. Attach together with hot glue.
- Cut a lightning bolt from yellow felt and glue it in the center of the circle. If you'd like, you can find a lightning bolt image from the internet to print and trace.
- Use fabric tape to attach the emblem to the front of the Long Sleeve PJ Top.
For the yellow edging:
- Use yellow electrical tape to make the flashy zig zag shapes around the sleeves and waist.
Pro-Tips
- For a DIY baby The Flash, use our baby top and baby bottom in red!
- Have other kids that want to be in the Justice League too? Check out our DIY Superman, DIY Batman, and DIY Wonder Woman.

