Image: @thechirpingmoms
Toy Story (Group)
Materials
For Woody:
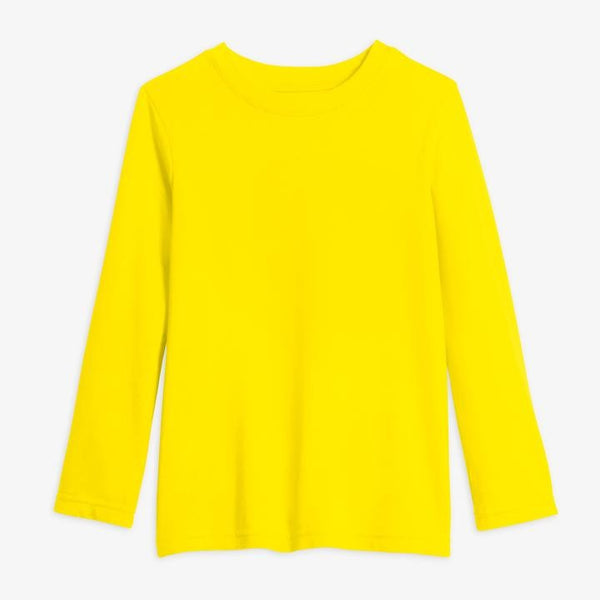
- One yellow kids top
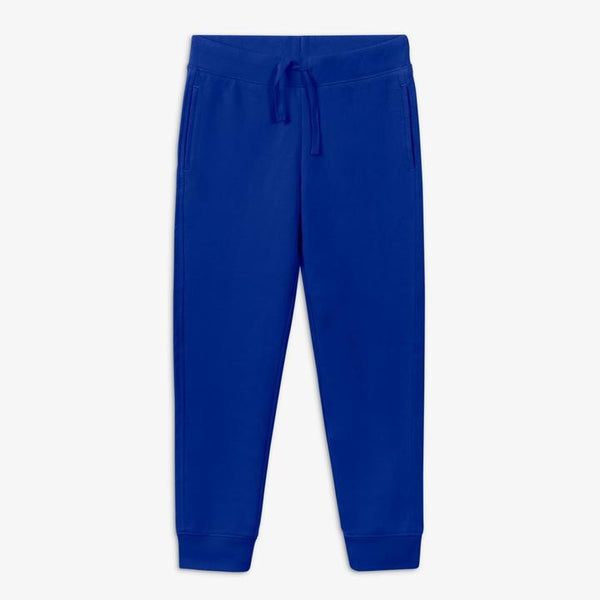
- One blue kids bottom
- Red Sharpie
- 12" piece of ribbon (longer for an older child)
- Ring
- Red bandanna
- Cowboy hat
- Other accessories: cowboy belt, vest, boots
For Buzz Lightyear:
- One purple kids top
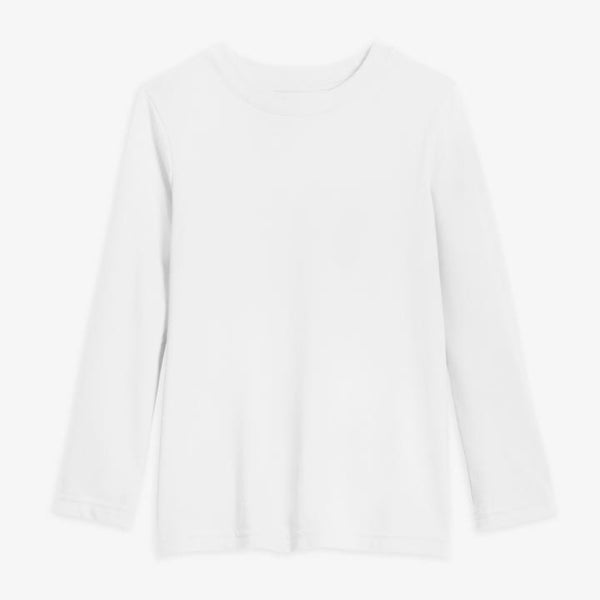
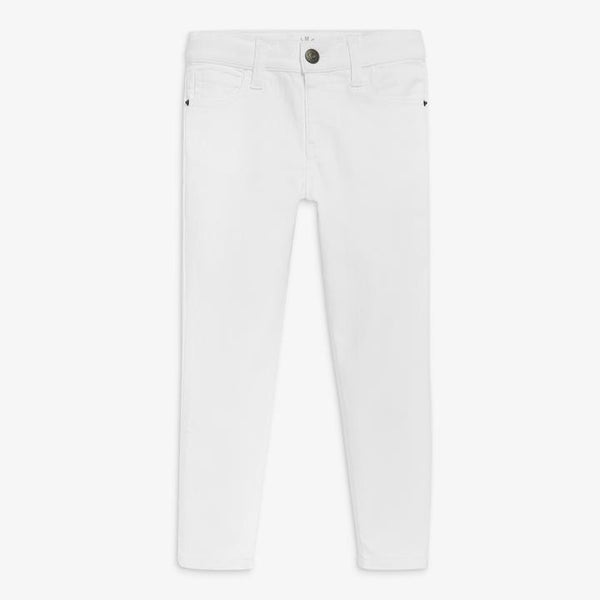
- One white kids outfit
- Cardboard
- Foam Sheets: line green and white
- Glitter sheet of cardstock or foam
- Sticky Felt Sheets: purple, red, lime green
For Slinky Dog:
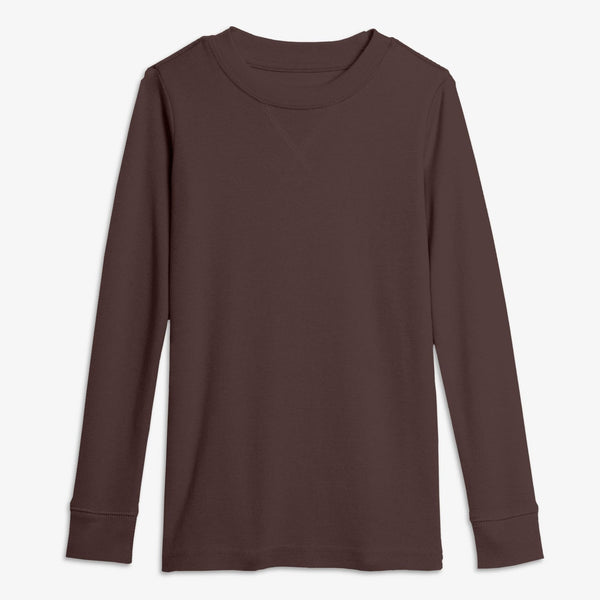
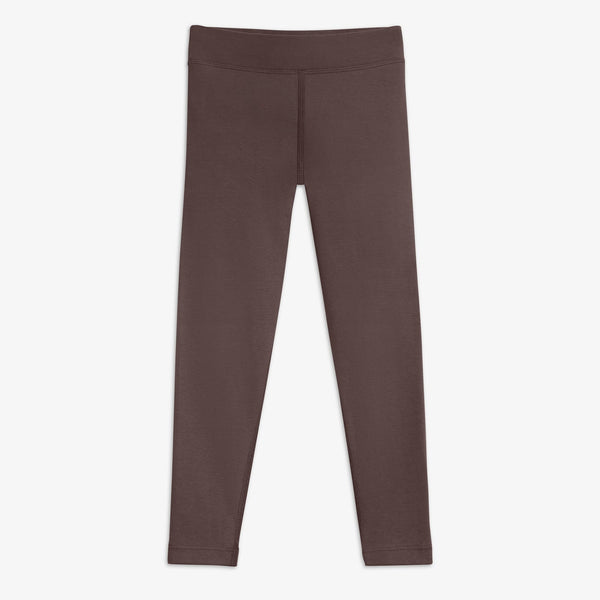
- One brown kids outfit
- Light brown and dark brown construction paper
- Metal coil (we used a package of metal duct)
- Ears: we used pigtails! But if you want to make dog ears grab a headband & brown felt
- Eye liner pencil or black face paint
- Brown sticky felt sheet
For Alien:
- One blue kids dress
- One green kids bottom
- Green ribbon
- Plastic headband
- Green paint
- Green pipe cleaners
- Pack of styrofoam balls
- Green foam sheet
- Black Sharpie
Tools
- Hot glue
- Sticky velcro
- Scissors
Instructions
For Woody
For the shirt:
- Lay the top flat. Put something inside of it to hold it straight, like a piece of cardboard box.
- Using a ruler or straight edge, make the top into Woody's checkered shirt using the red Sharpie.
- Tie the ribbon to the ring and then cut a very small hole in the back of the tee.
- Slide the ribbon in and then knot it a few times on the other side of the hole so it stays in place.
For Buzz Lightyear
For Buzz's outfit:
- On the top, create Buzz's control panel with the lime foam and sticky felt.
- Follow the design on the photo. Use the glittery paper or foam to make the "belt". All of this should be glued onto the top. Layer the top and bottoms.
For Buzz's boots:
- Cut 2 strips of white foam just long enough to wrap around the child's calf.
- Glue strips of lime green felt on the bottom of the white pieces of foam.
- Using a small piece of sticky velcro, stick it to the top of the end of the foam strip you when you wrap them around the child's calf you can now "open and close" the boot.
For Buzz's wings:
- Cut out 2 rectangle pieces of cardboard.
- Cut out a piece of white foam the same size and glue it to the cardboard.
- Use the various colors of sticky felt and foam to follow the pattern below.
- Attach the wings to the back of the white tee using long strips of sticky velcro.
- Then you can easily take the wings on and off.
- Use velcro strips in at least 2 spots along the wings to they don't fall off.
- Now, prepare for take off!
For Slinky Dog
For the ears:
- Add ears by making 2 high pigtails like we did.
- OR you can cut out 2 dog ears from brown felt and glue them to a headband.
For the face:
- Use the eyeliner pencil or face paint to paint a dog nose on the child's face.
- Optional: use red face paint to make a tongue hanging out too.
For the slinky:
- We used a duct (found at hardware store) and pulled off the excess so just the slinky/wire part was left.
- We attached it to the costume using the adhesive felt.
For the body:
- Cut out a tail from the light brown paper and 2 dog paws from the dark brown paper and glue them to the wire. Now Slinky has his hind legs!
- Attach the "slinky" to the pajamas by poking the wire through the pajama shirt.
- Cut a small piece from the brown sticky felt sheet and place it over the metal on the inside of the shirt so it doesn't poke your child.
- Then use the rest of the sticky brown felt to secure the "slinky" to the shirt and stick is right across their back.
For Alien
For the headband:
- Start by painting the headband green and also one of the styrofoam balls.
- On 3 of the other styrofoam balls, draw a black circle with the marker in the center to make it look like an eyeball.
- Take 2 green pipe cleaners and twist them around the top center of the headband.
- At the top, poke the pipe cleaner into the styrofoam ball you painted green.
- Glue the 3 "eyes" onto the headband (I used hot glue).
- Cut out 2 alien ears from the green foam sheet and glue those onto the headband too.
