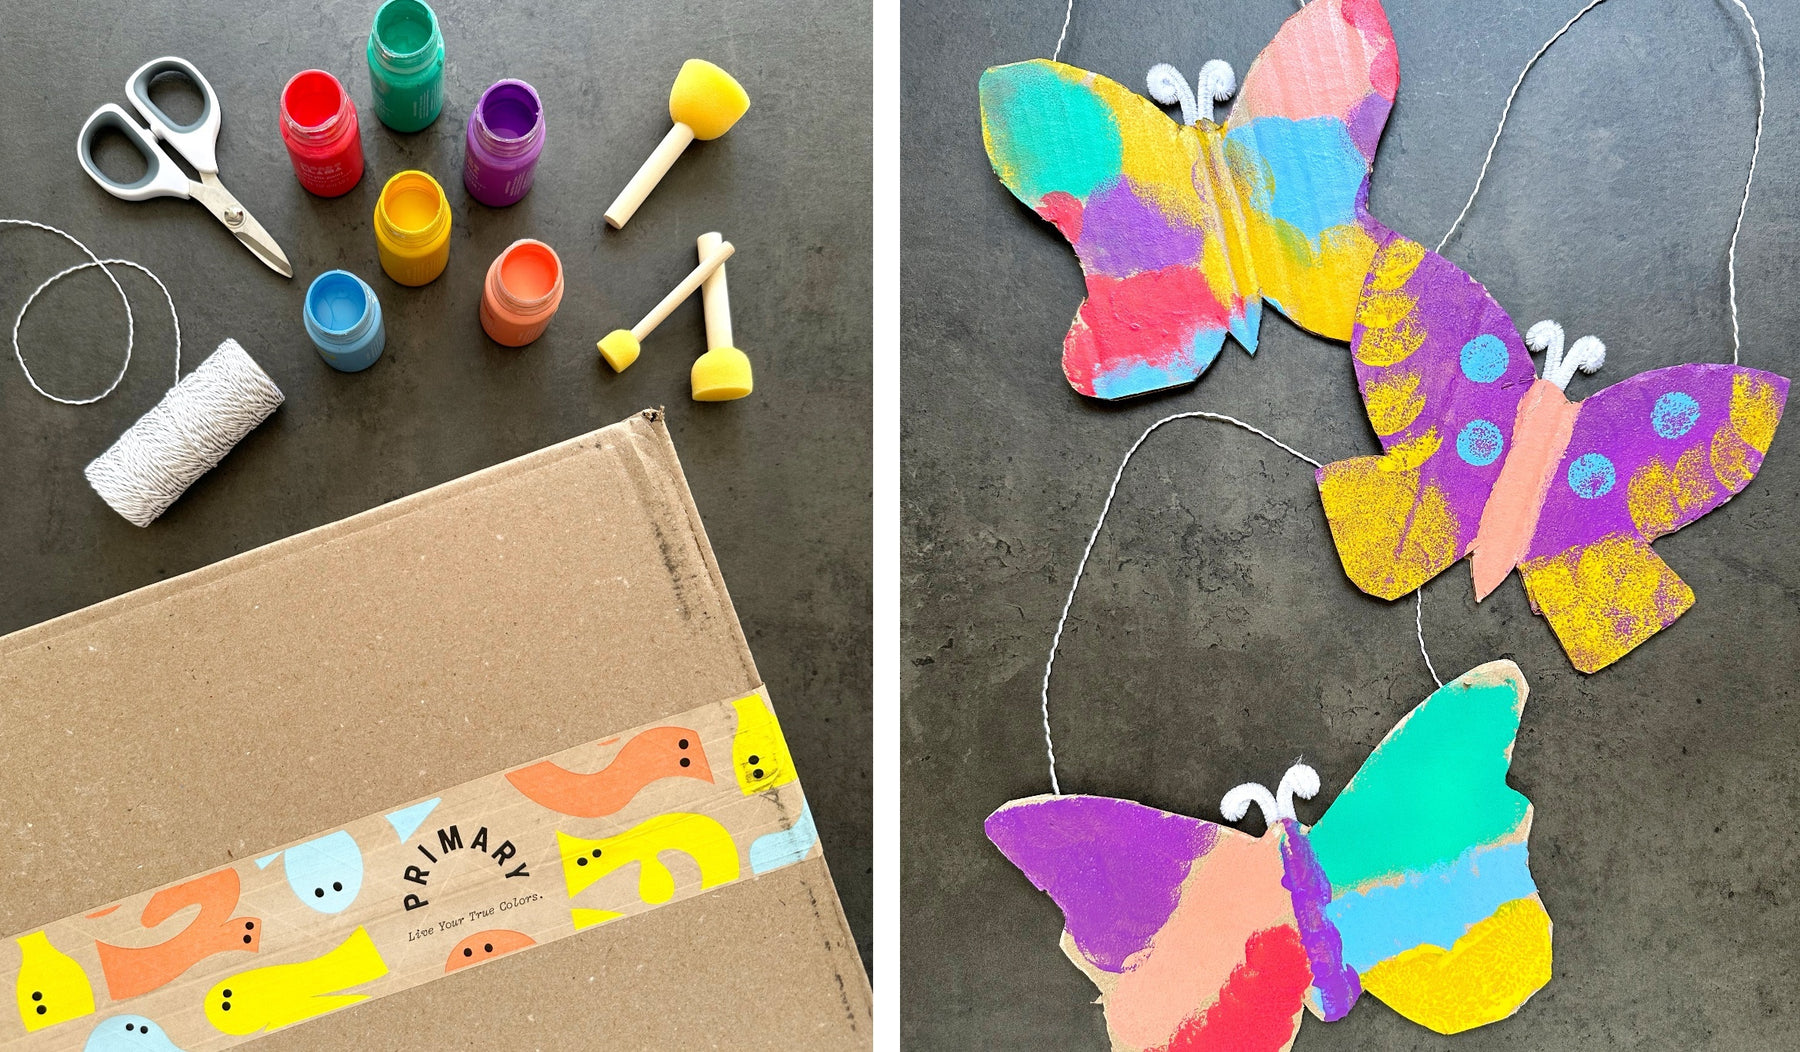
Easy DIY: Upcycled DIY Cardboard Butterfly Craft

At Primary, sustainability is at the core everything we do, from the fabrics we produce, to the materials we use in our packaging. This week, we're so excited to highlight all the ways our community works to protect the planet – especially because it means sharing this adorable, upcycled cardboard craft from our friend @findinglearningjoy. Celebrate Earth Day with the kids in your life and put the box from your Primary order to use with this colorful DIY butterfly!
Materials:
- Cardboard box
- Paint (acrylic paints cover cardboard best)
- Round, foam sponge brushes (one per paint color)
- Pencil or white colored pencil (for drawing the butterfly shapes)
- White pipe cleaners (for the antennae)
- Clear tape (for securing antennae and string)
- String for hanging (baker’s twine or jute twine)
- White tacky putty (an easy way to hang the butterflies)
- Box cutter (adult use only)
- Scissors (adult use only)
Instructions:
Step 1: Open a cardboard box and lay it flat. Use the existing box seams (creases) of the box as a guide for the center of the butterfly shape.
Step 2: Draw half of the butterfly on the cardboard box, following the box seam as the center line. Cut out this shape. Fold the cutout as a template to trace and then cut out the other wing.
Step 3: On a section of the remaining cardboard, create a paint palette and pour dollops of paint directly onto the cardboard. Add a foam sponge brush for each paint color.
Step 4: Use tape on the back side of the butterflies to prevent them from moving around while your child paints.
Step 5: Let your child unleash their creativity and paint unique designs on the butterfly shapes! Encourage them to experiment with the sponge brushes to create different patterns and textures.
Step 6: Allow the paint to dry completely before moving forward.
Step 7: Once dry, create antennae for your butterflies using pipe cleaners. Simply bend and twist the pipe cleaner to form the desired shape, then tape onto the back of the butterfly.
Step 8: Transform your painted butterflies into beautiful wall decorations! Cut a piece of string and tape to the back of the butterfly to create a hanger.
Step 9: Use white tacky putty to hang your child’s creations!
Share your creations with us on social @primarydotcom – we'd love to see what you come up with!