How to Tie Dye Kids Clothes
Tie dye as easy as 1, 2, 3!
by Teddy and Mercedes Quinn

Few crafting activities are as memorable (or as perfect for quarantine!) as Tie Dye. Tie Dyeing clothes takes us back to a time in place of youthful curiosity and joy. Maybe you tie dyed at summer camp, or in the backyard with your parents and siblings. No matter your experience (even if you have NONE!), tie dyeing is a super fun and easy way to make new memories and create clothing pieces that are truly unique and yours. For growing children, the joy of creating something that's special and unique (just like them!), makes this activity perfect for fostering creativity and a sense of accomplishment.
 .
. 
If you've never tie dyed before, or if you'd just like a refresher (your summer camp days may be many years ago!), this article is for you!
First, you’ll need to gather your supplies. Note: if you buy a tie dye kit (like this one we used), many of these supplies might already be included.
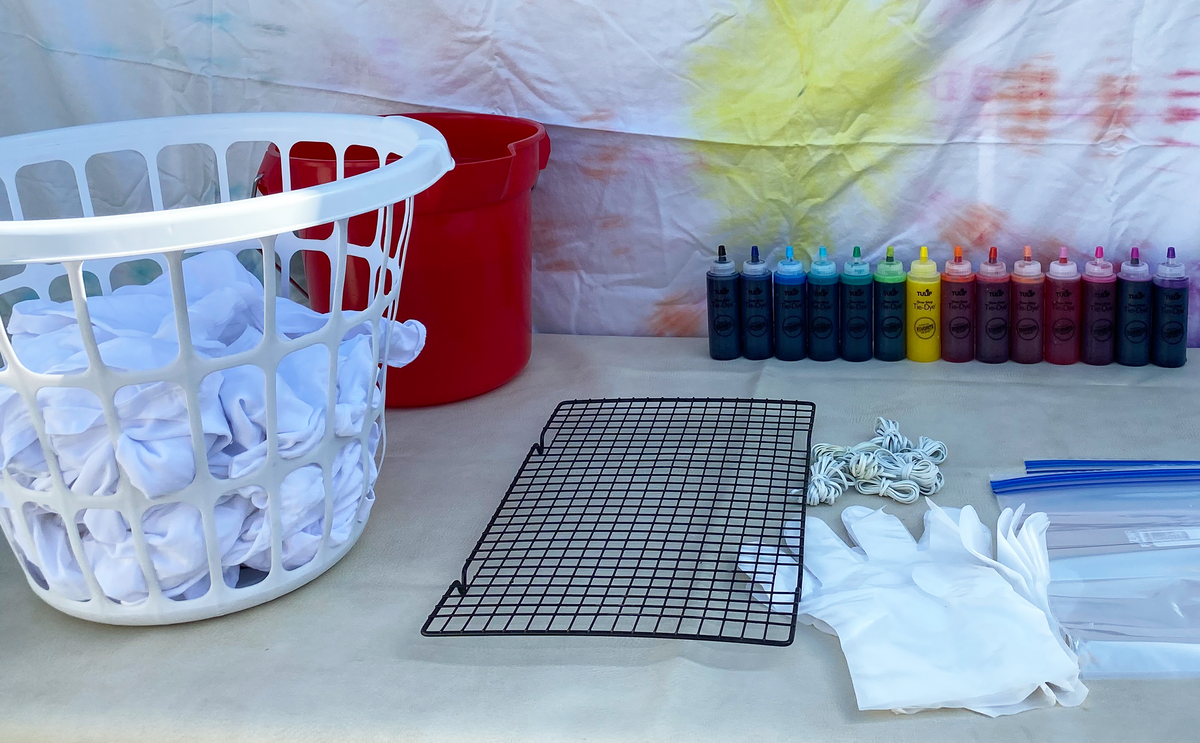
Supplies:
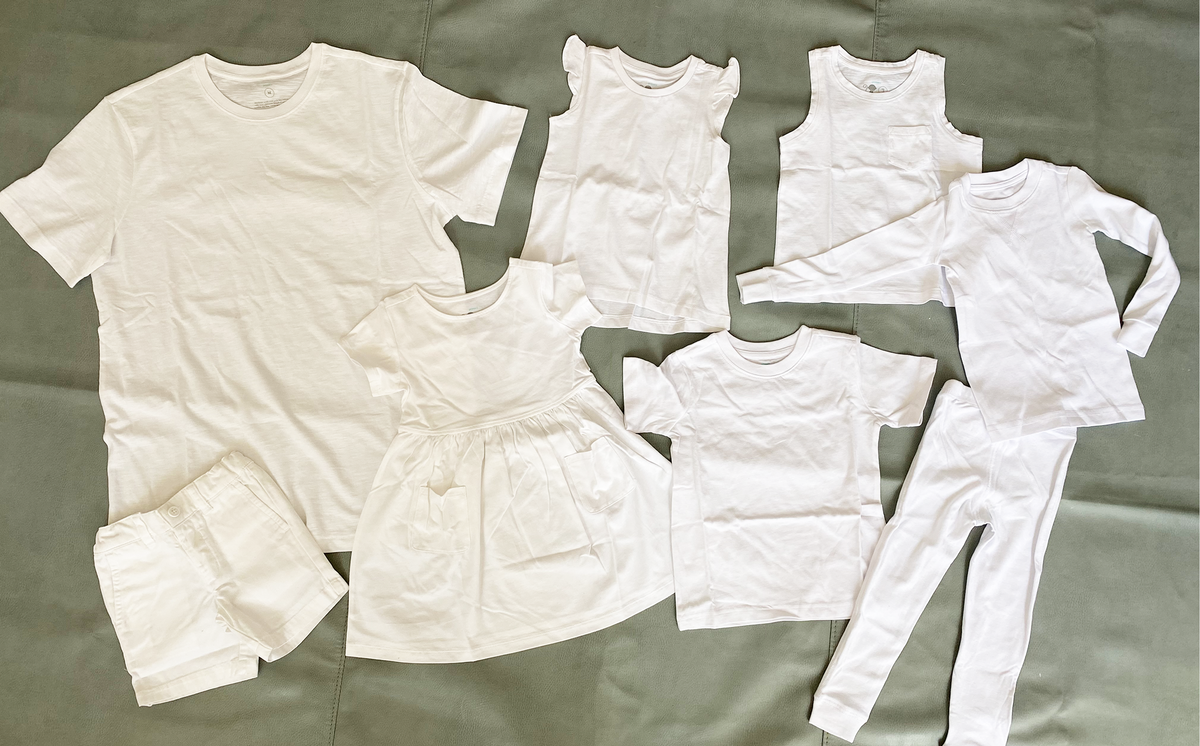
- Light colored clothes
- White or light colored clothes are a blank canvas that show colors well, but technically you can use any color
- 100% cotton or mostly natural material clothes to dye (these take the best to the dye)
- Pro tip: Tie dyeing is a great way to bring new life into permanently stained clothes that would otherwise be thrown away
- Dye
- Rubber bands
- Plastic gloves
- Note: Most dye is non-toxic, though it can still temporarily stain your skin, so definitely use rubber gloves to avoid this
- Protective covering for the surface you’ll be working on like a plastic sheet (an old shower curtain works great!)
- Plastic bags to store damp clothes in while dye is setting
- An open mind!
-
Optional:
- Bucket of water for wetting clothes
- Fork to help with spiral fold
- Drying rack so dye doesn’t pool
- Ice cubes and cardboard for ice cube method of dyeing
- ashable marker for heart or rainbow design
Instructions:
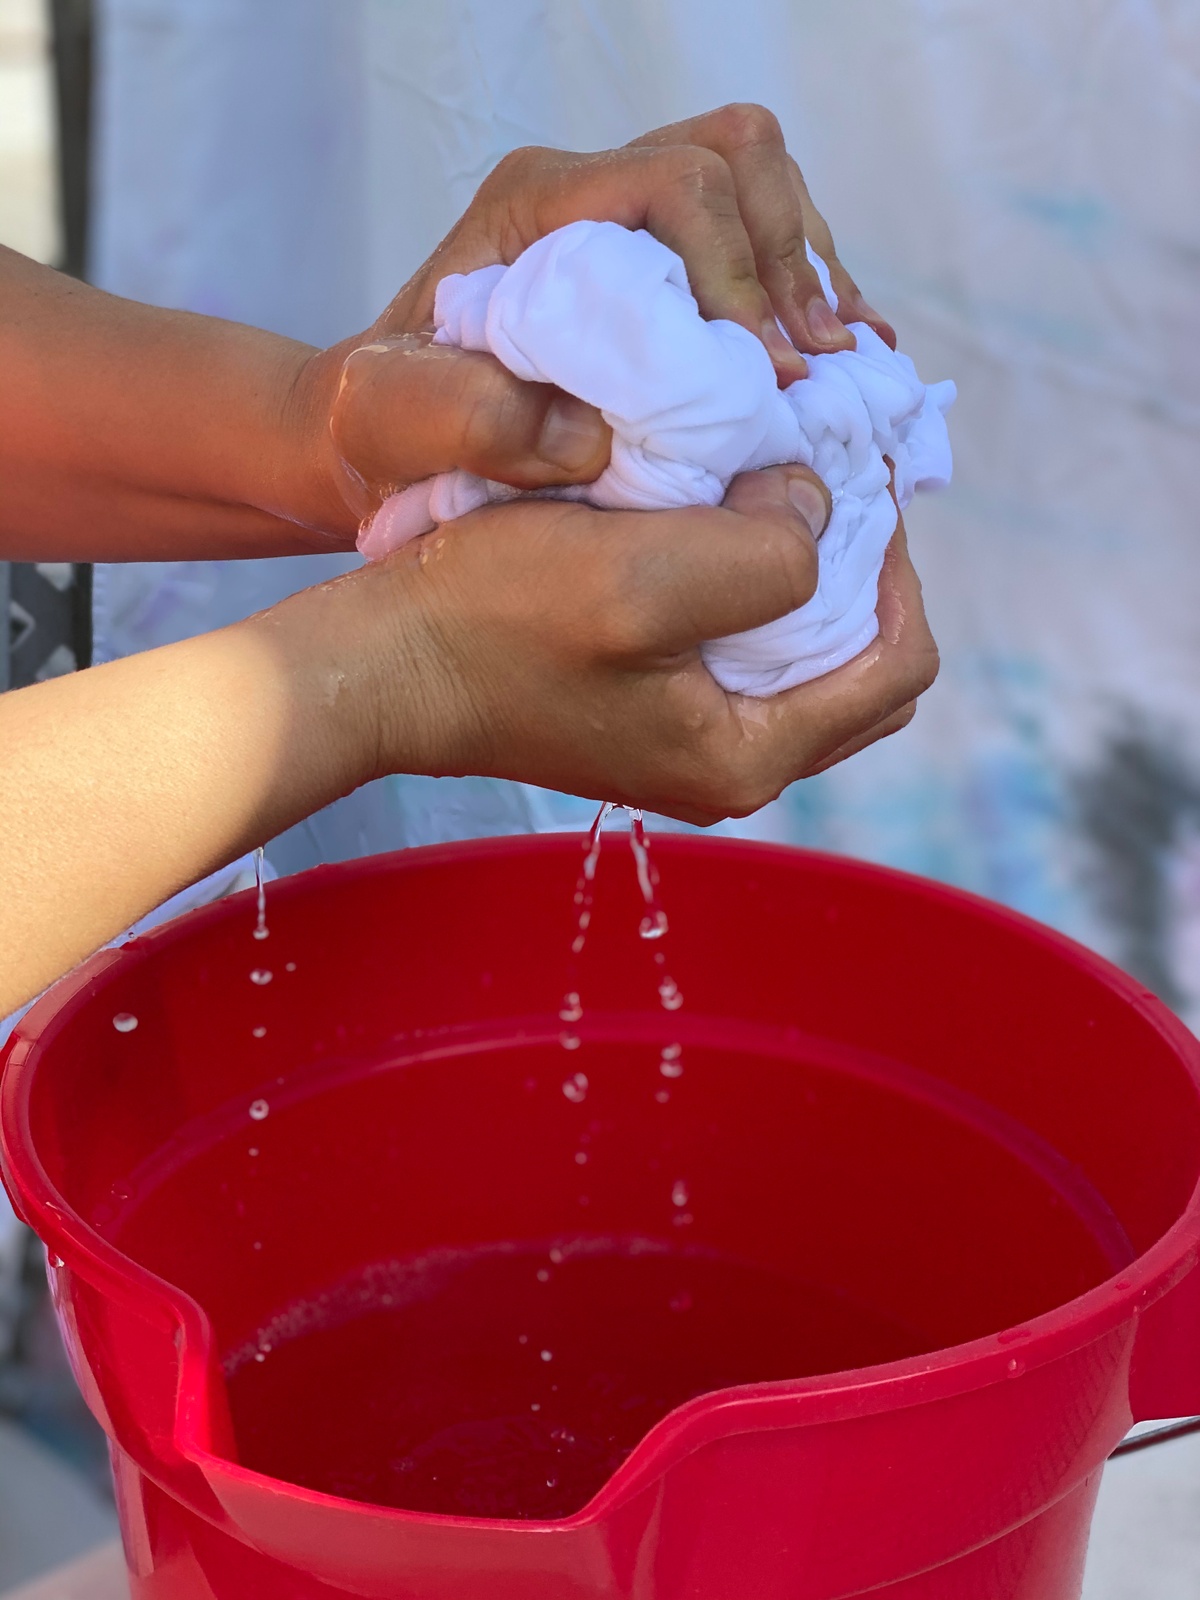
- Get your clothes wet
- You can prewash the clothes, and use straight from the washing machine, or dunk in a bucket of water and ring out - we did the latter
- Clothes should be damp, but not dripping yet, so you'll want to ring them out a bit after dunking
-
- Fold & tie
- Use the folding method of your choice, and then tie with rubber bands or string
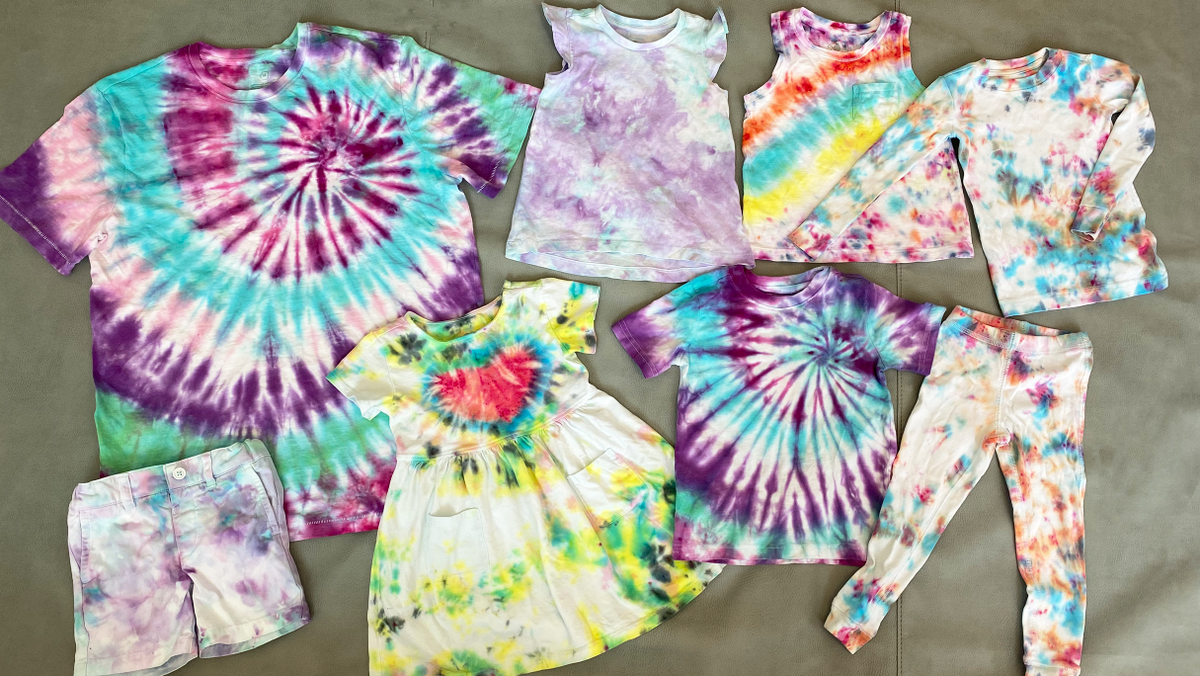
- Some of our fave folding methods are spiral, heart, crumple, rainbow
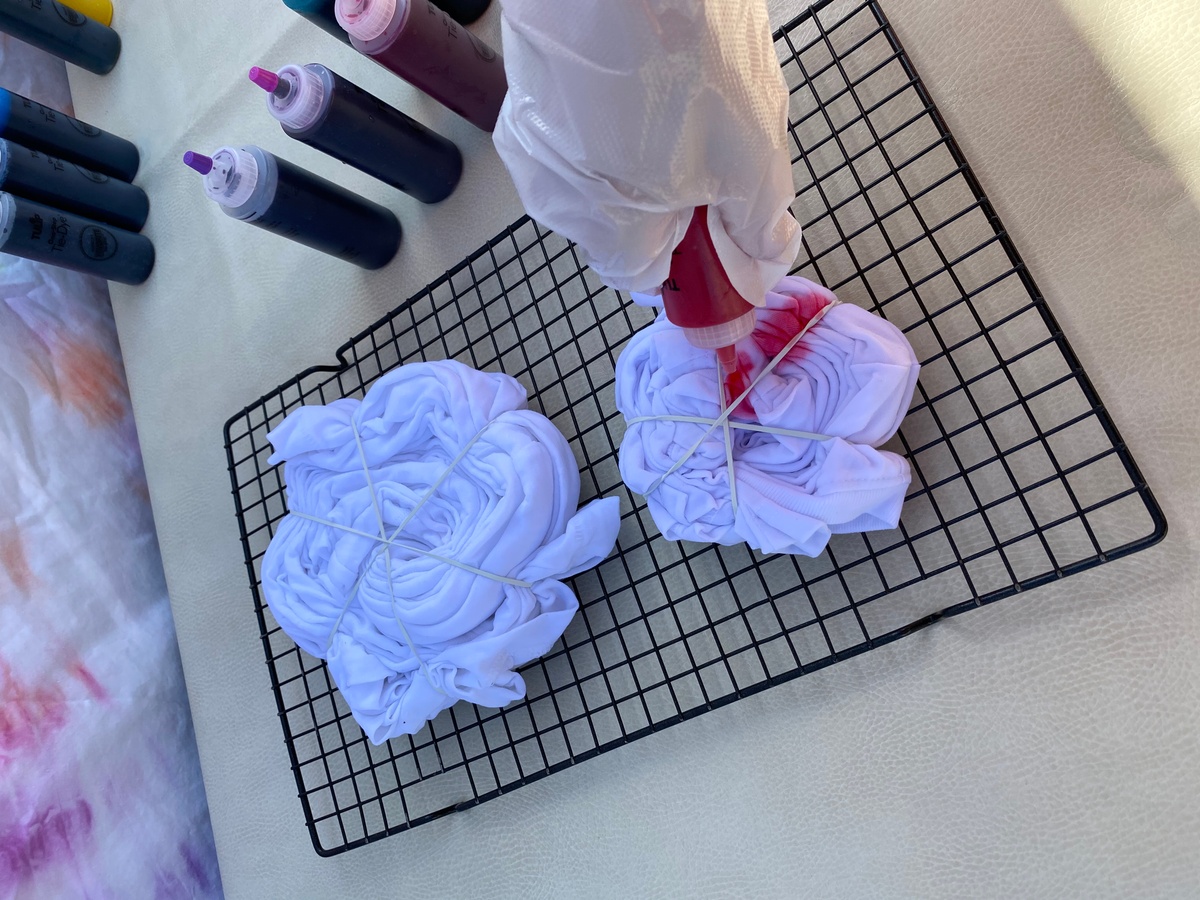
- Apply dye
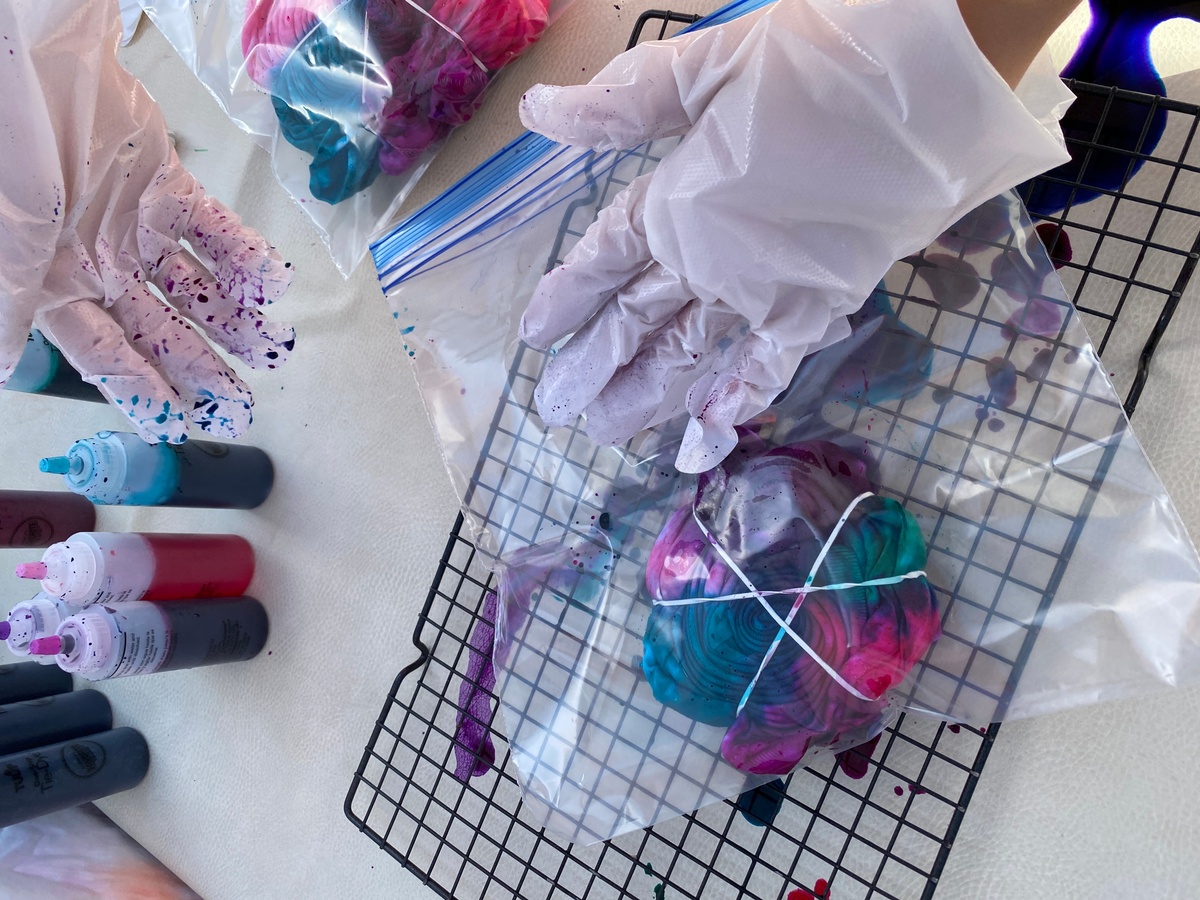
- Add dye to your wet, folded, and tied clothes in your desired colors and design
- After you've dyed one side, flip it over and do the reverse
- We can't stress this enough, there is NO WRONG WAY TO DYE, just have fun and don’t stress!
-
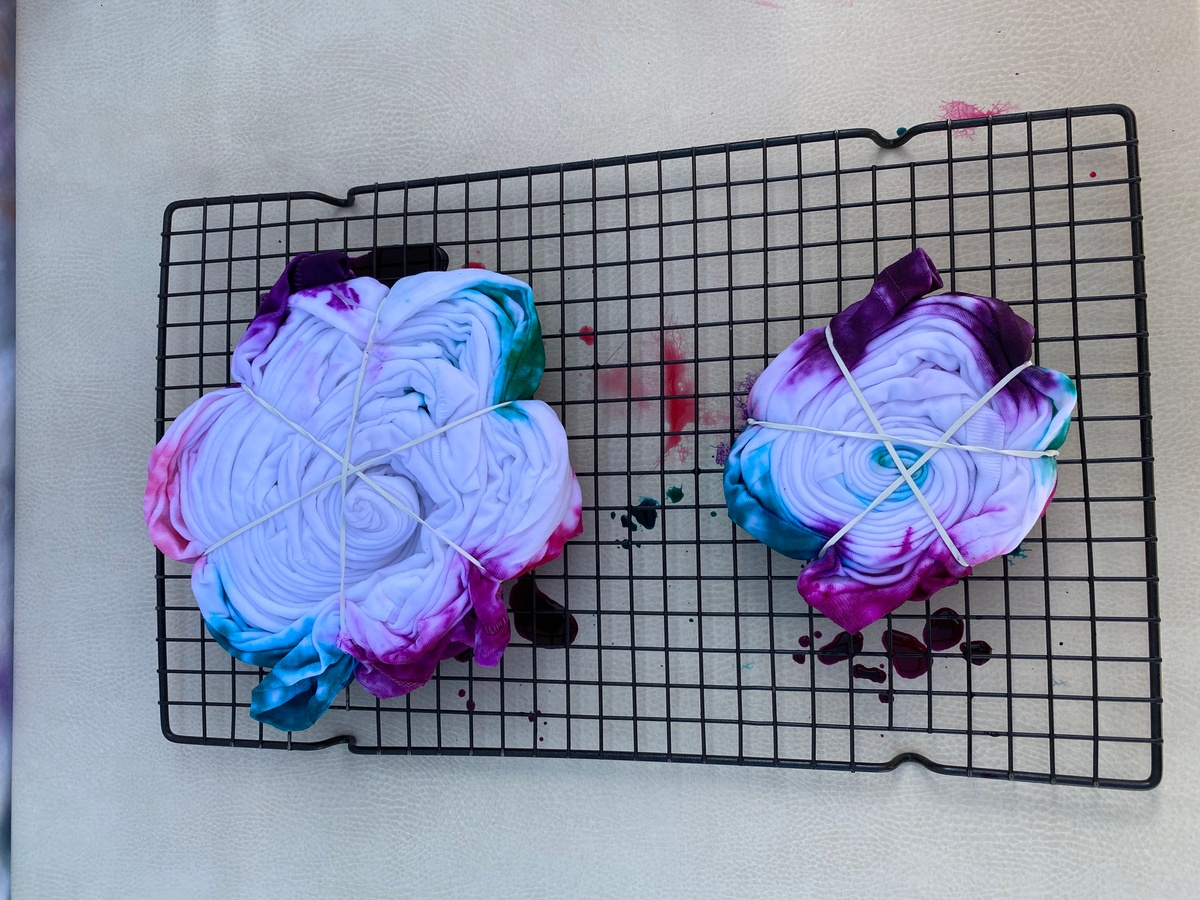
- Store dyed clothes
- Put dyed and tied clothes in a plastic bag or something similar so it stays damp for at least 8 hours or overnight
- It's best to store one dyed item per bag, just so dye doesn't run between
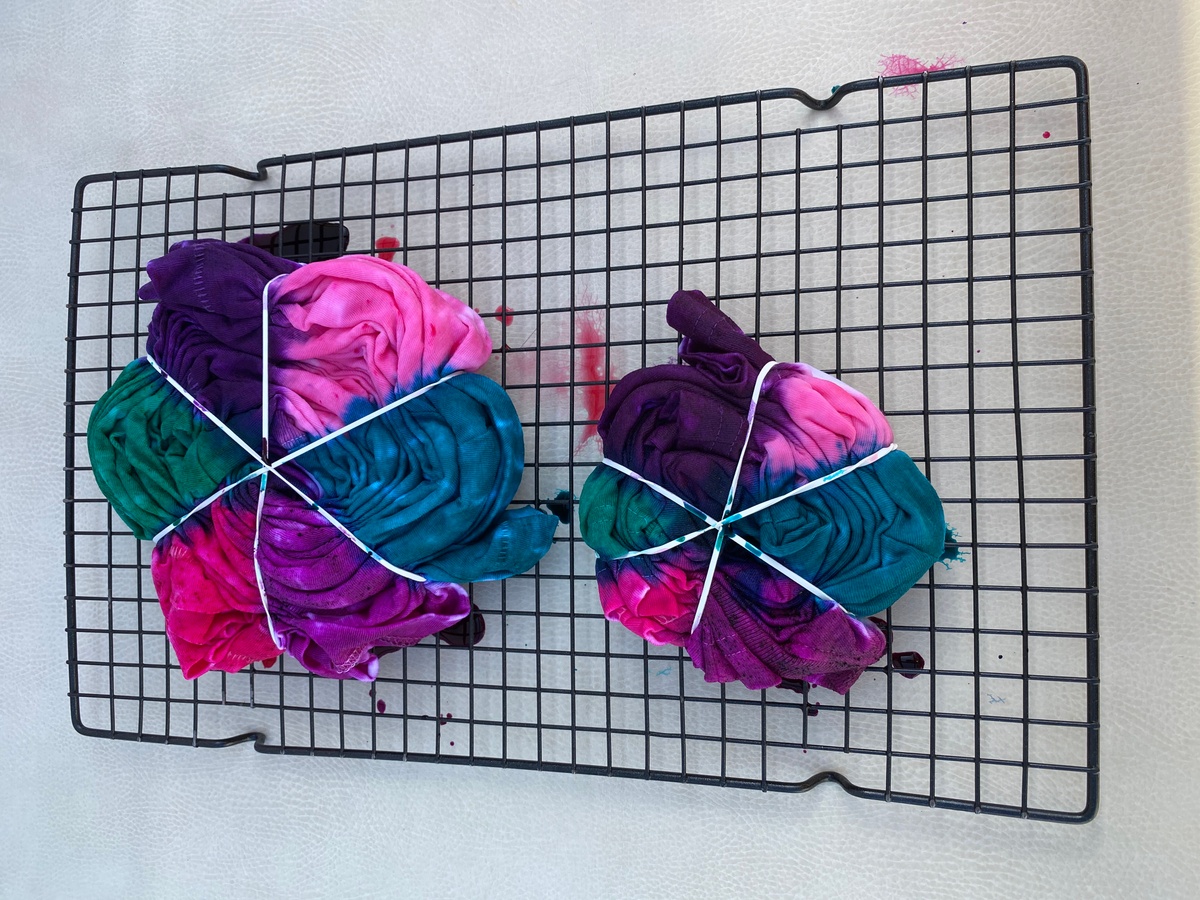
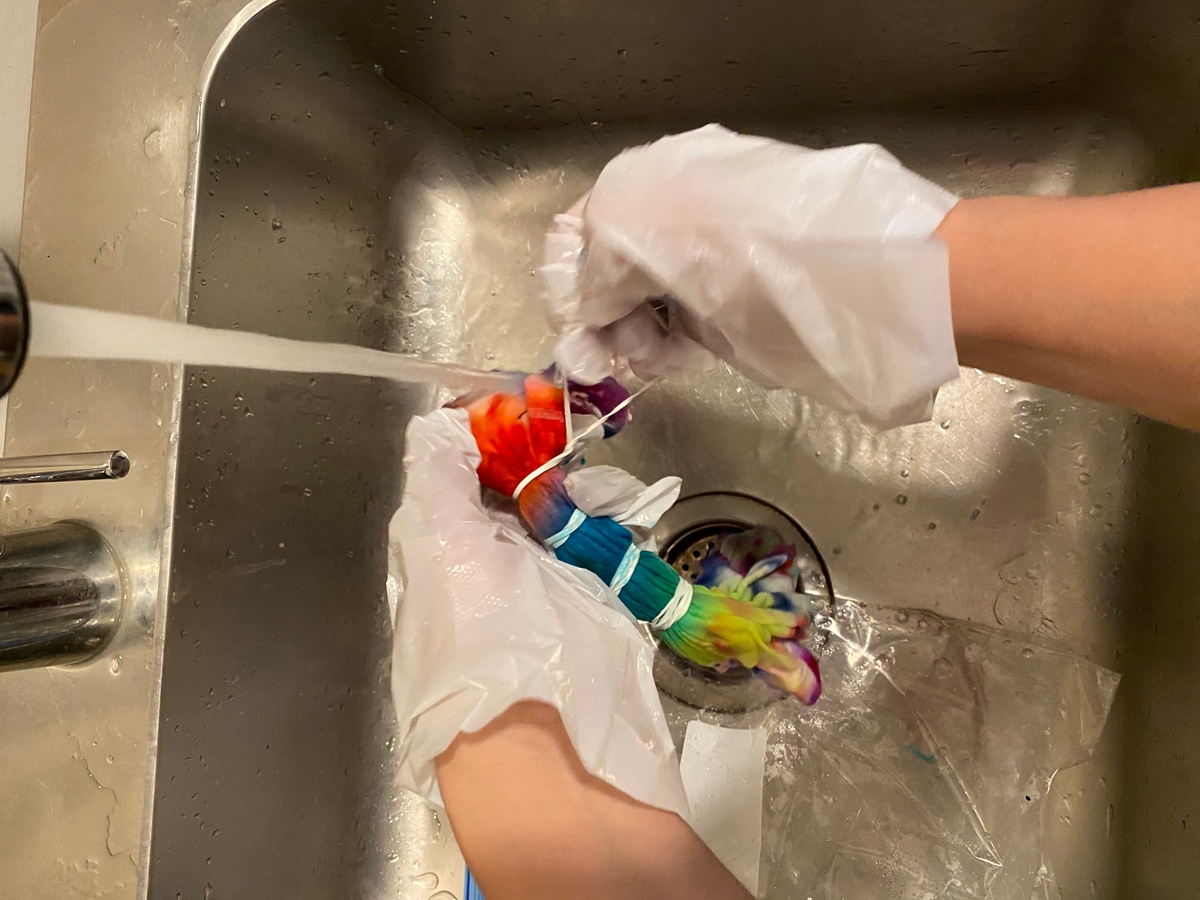
- Wait and rinse
- Run through the laundry
- on the "hot water" by themselves
- After this, your item should be able to be washed regular with other clothes without leaking dye!
- Admire your work!
- ALLL of the "oohhs" and "aahhs"
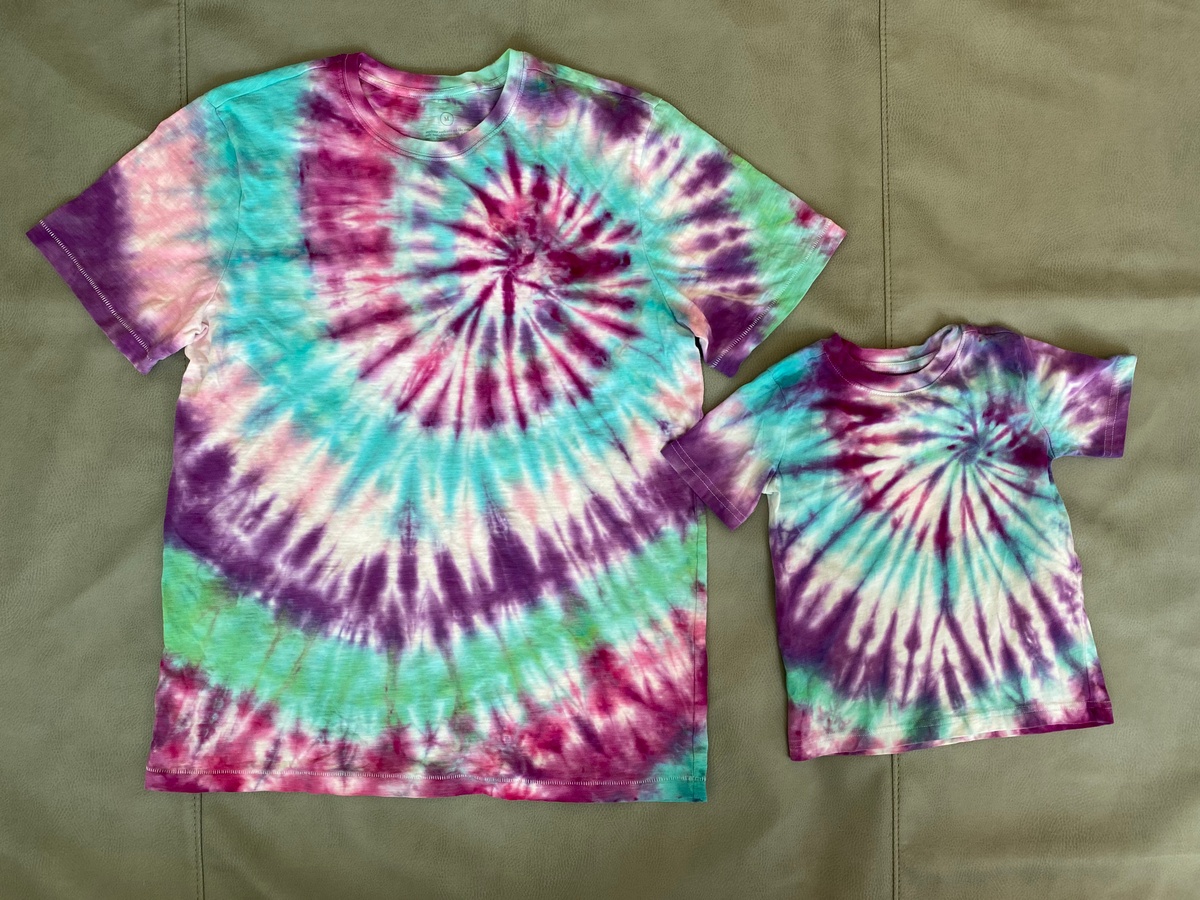

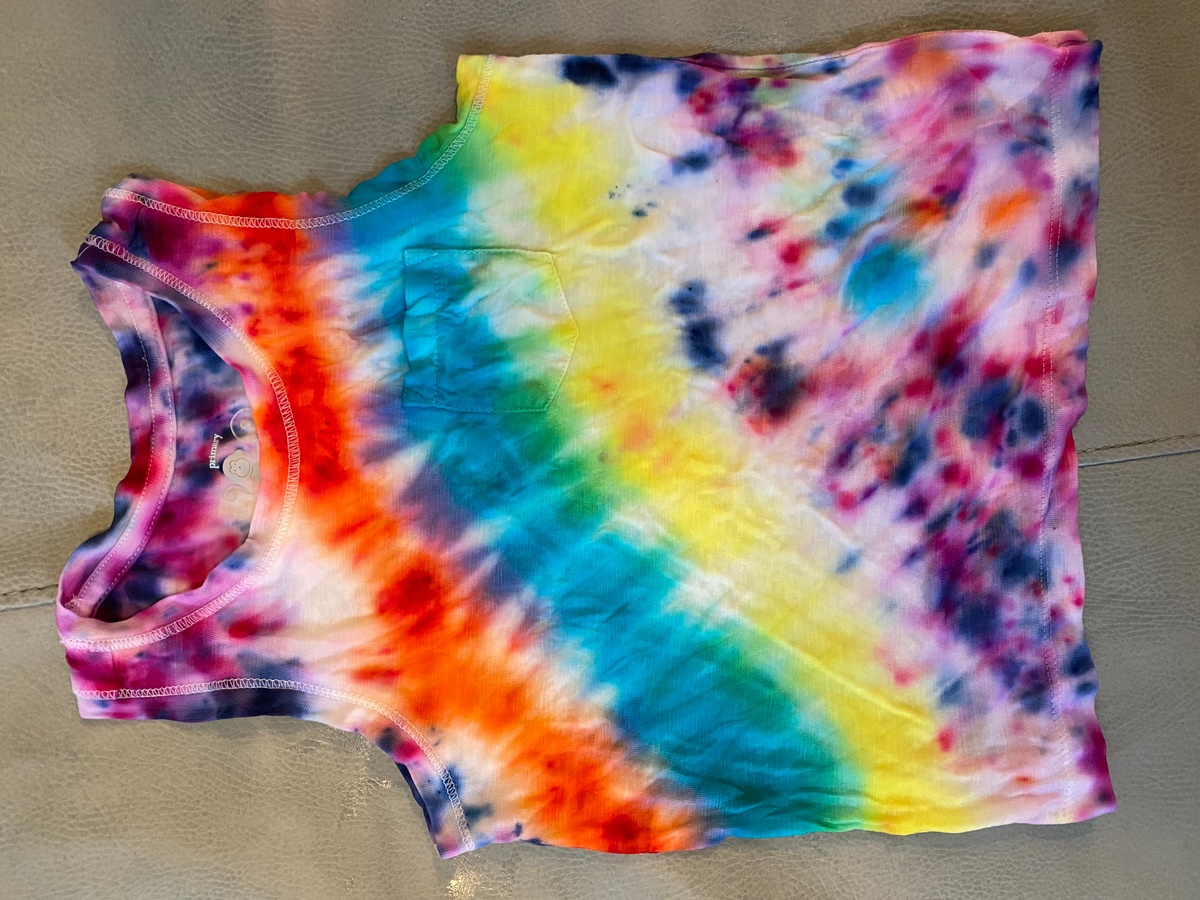
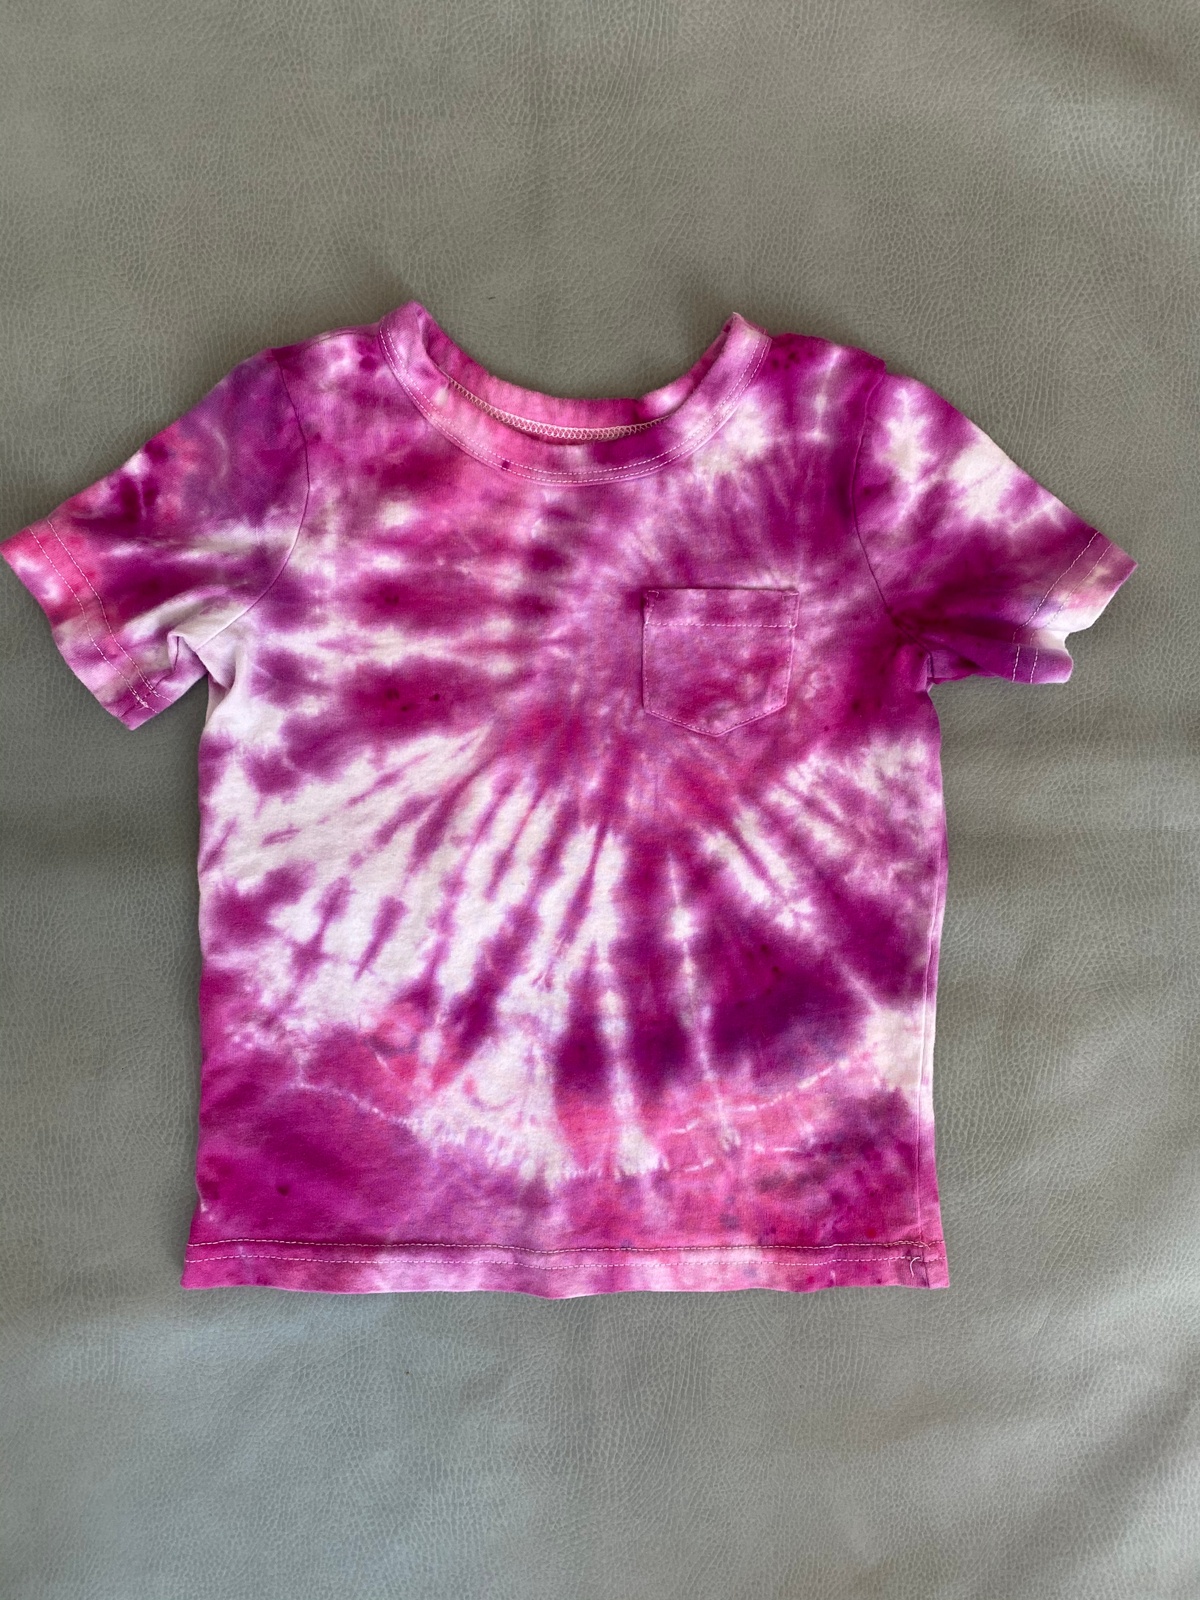
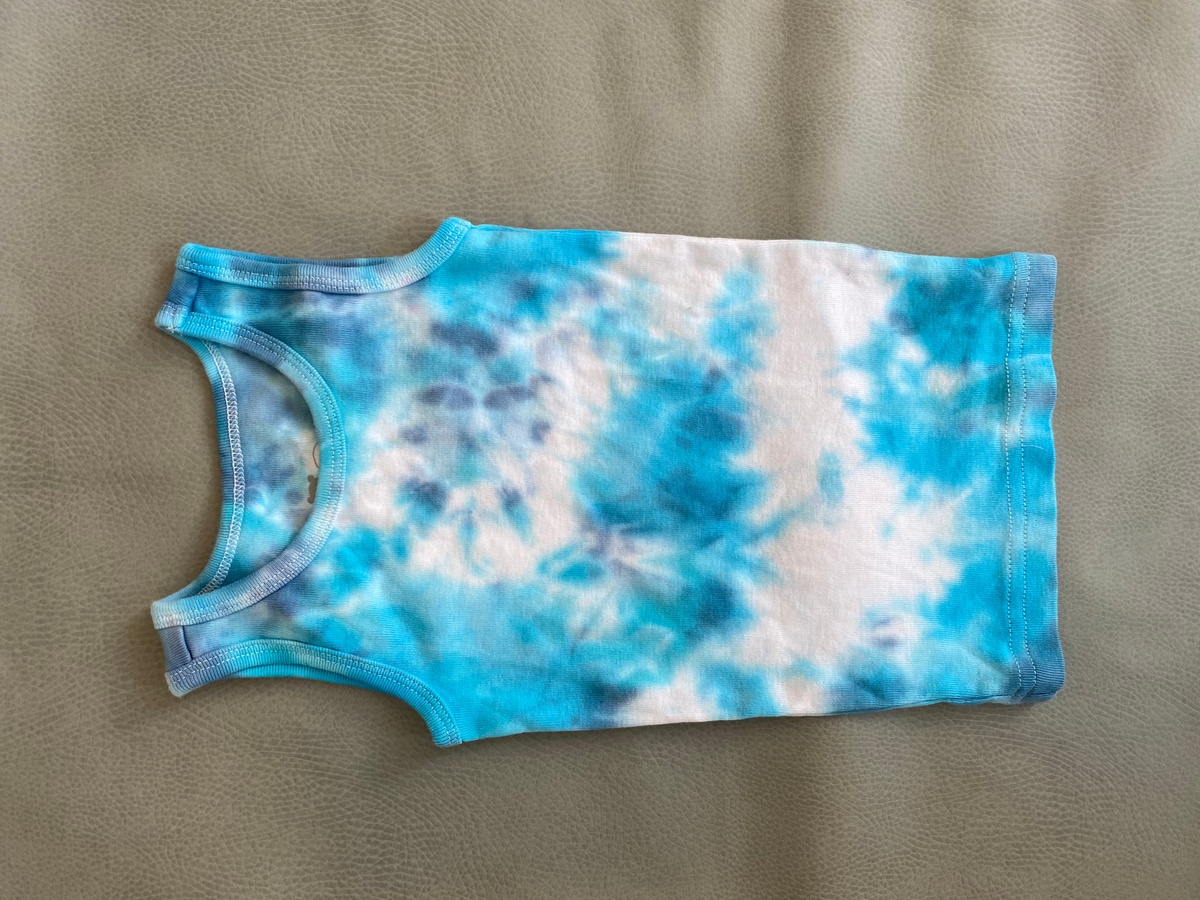
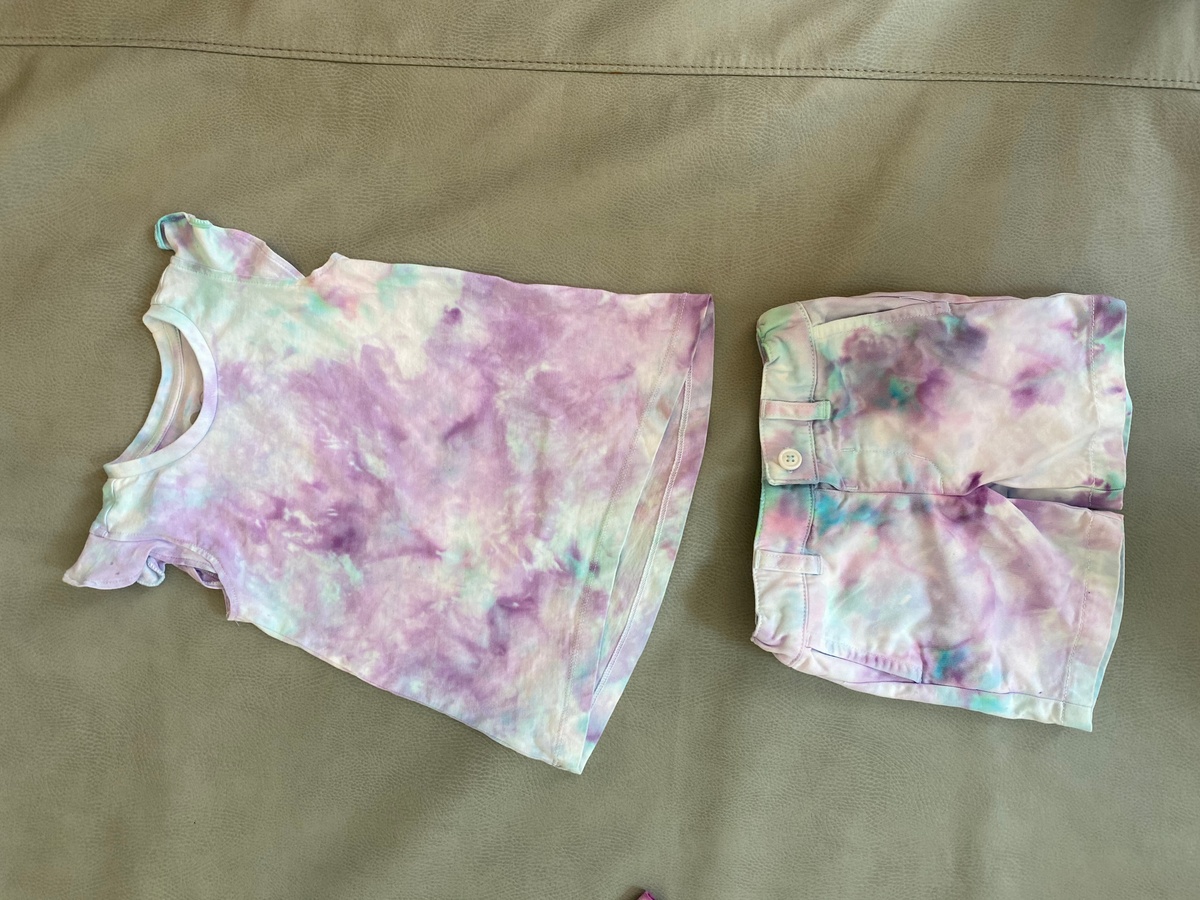
Some of our favorite folding techniques:
- Spiral (this is the classic tie dye look!)
- Heart
- Rainbow
- Crumple
- Ice cube
Tagged with:
More from DIY
View all posts-
 Translation missing: en.blogs.article.posted_in DIY
Holiday How-To: DIY Patterned Wrapping Paper
-
 Translation missing: en.blogs.article.posted_in Primary Color Camp
Primary Color Camp: Make-Your-Own Bored Jar
-
 Translation missing: en.blogs.article.posted_in DIY
Primary Color Camp: Washable Window Paint
