Products you’ll need (2)
Black Panther
-
Has instructions
-
No-sew
-
Video
Products you’ll need (2)
Materials
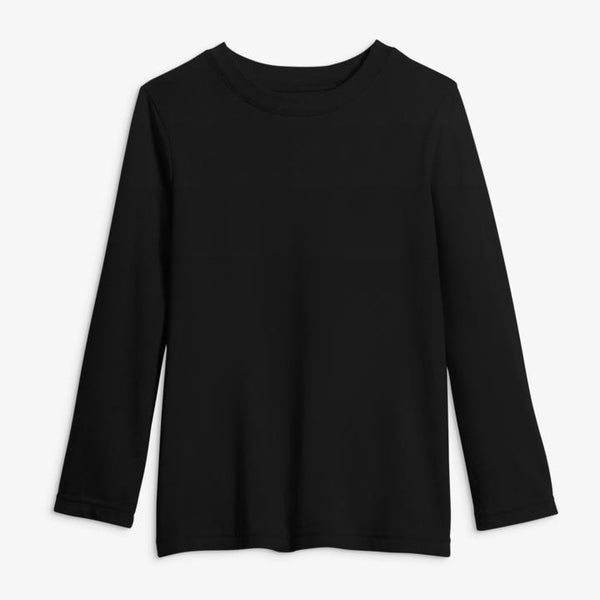
- One black kids outfit
- Black felt (2 sheets 9 x 12 inches each)
- Black electrical tape (1 roll ¾ inches wide)
- Gray electrical tape (1 roll ¾ inches wide)
- Fabric chalk
- Gray paint
- Paintbrush
- Paper plate or paint tray
- Black elastic band
Tools
- Hot glue gun and sticks
- Scissors
Instructions
Send your kid to the land of Wakanda with one of our most popular DIY costumes! If our Primary essentials are vibranium, these simple instructions and your DIY crafting magic are "the heart shaped herb" that will transform your little warrior into a powerful Black Panther king! They'll have so much fun prowling around in this costume that by the end of the night, they'll be saying "Wakanda (and Halloween) forever"!
For the mask:
- Cut a sheet of black felt into an oval shape with the top a little wider than the bottom. Fold the felt in half lengthwise and cut along the bottom fold from the chin to the nose and along the top fold about 3-4”. These slits will give the mask more shaping around the forehead and mouth.
- Unfold the mask and overlap the bottom slit edges a bit and glue together to shape the mouth. Do the same for the top slit to shape the forehead.
- Place mask over the wearer’s face and use fabric chalk to mark the eye openings. Cut out eye openings.
- Use gray paint and paintbrush to paint the detail lines on the mask as shown in the photo.
- Measure the wearer’s head and cut a length of elastic 1-2” shorter than the measurement.
- Hot glue each end of the elastic band to either side of the mask at the level of the eye holes on the back side.
For the ears:
- Cut two matching rounded corners 2”x3” rectangles for the ear bases.
- Cut two matching 1 ½ “ tall at the point, and about 5” long triangles for the pointed ears that will curve around one of the 2” and one 3” edge of the rectangle.
- Glue the triangle ear standing up on the flat rectangle ear base. Glue to either side of the top of the mask.
For the final touches:
- Use black electrical tape to make the geometric line details of the costume on the top and bottoms.
- Use gray electrical tape to make the spikey metal details around the collar, arms, and legs of the top and bottoms. We stuck down the straight lines first, then cut out longer triangles for the spikes. Refer to images of the Black Panther costume on the internet for the detail lines.The tape will stick to the clothing and will be easily removable without damaging the clothes.
Pro-Tips
- For a baby Black Panther, use one black baby outfit!
- Make a whole Black Panther crew with our DIY Erik Killmonger, DIY Okoye, and DIY Black Panther Group costumes!

