Image: @primarydotcom
Products you’ll need (2)
Corn (Kid)
Products you’ll need (2)
Materials
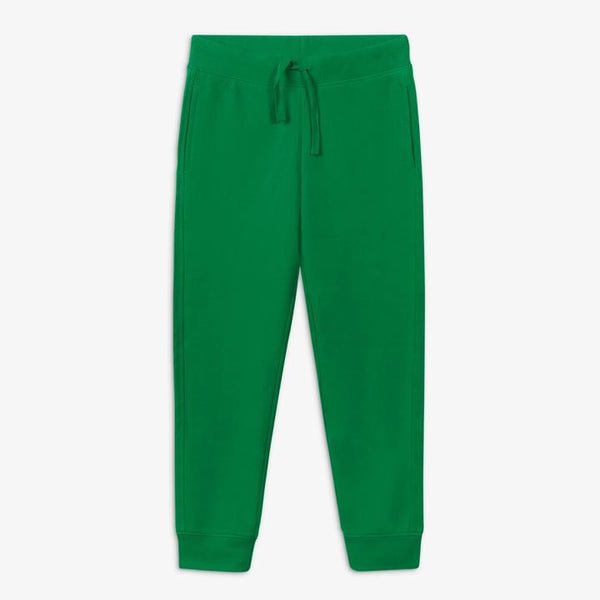
- One green kids outfit
- Dark green felt (1 yard)
- Lime green felt (½ yard)
- Egg cartons (3)
- Natural Raffia (1 packet)
- Cardboard (one 3”x10” sheet, one 4” square)
- Yellow paint
- Sturdy wire
Tools
Instructions
Who doesn't love a healthy snack on Halloween? With the Primary DIY Corn costume, your kiddo will be looking like the cutest cob around in our soft Primary essentials. Our easy DIY instructions will have you finished crafting in a snap.
For the headpiece:
- Roll the 3”x10” sheet of cardboard into a cylinder and hot glue together. Cut and glue a cardboard circle to the top of the cylinder for stability.
- Cut 20-25” lengths of raffia and glue the bottom edges around the cylinder to cover it. With a knife, make a 1” wide horizontal slit on either side of the hat near the bottom. Cut and thread an elastic band through the slits so that the hat fits over the child’s head. Knot the elastic together at the top and hide under the headpiece.
For the body:
- For the corn kernels, cut the bottom off three egg cartons and paint them yellow. Hot glue the egg cartons next to each other lengthwise. Cut the third egg carton in half and hot glue them together next to each other and below the two full length cartons. Cut and glue a rectangle of green felt that covers the back of the corn kernels with several inches of felt extending on either side of the cartons. These “wings” will be glued to the corn husks to hold the kernels up.
- For the corn husks, cut four dark green 12”x36” husks that are rounded at the bottom, and pointed at the top. Cut four lime green 12”x18” husk tops which will peek out between the full husks. Cut four 36” long and four 18” long pieces of wire and use pliers to curl the ends inward. Hot glue one wire in the center of each felt husk and pinch and glue the felt around the wire to cover it completely. To make the husk “wrinkles” lay a line of hot glue one section at a time vertically on either side of the wire and fold the felt at the glue line to make the wrinkle.
- To assemble, lay the corn kernels in the center and two dark green husks on either side of it, overlapping each other a little. Place the lime green husk tops on the inside peeking out on either side of the kernels and between the dark green husks. The back will be left open and safety pinned together when wearing the costume. Use safety pins to hold all these pieces together to help in adjusting the placement before hot glueing them together. To give the bottom a more rounded edge, pinch and glue sections of the bottom edge together to curl inward. Cut two vertical slits on either side of the costume for the arm openings, and you’re done!
Pro-Tips
- For a corn cob costume for baby this Halloween, check out our DIY Corn (baby).
- Have other little ones that want to be vegetables? Check out our DIY Broccoli, DIY Avocado, DIY baby Carrot, DIY kid Carrot, and DIY kid Peapod costumes!

