Image: @cattyzeta
Products you’ll need (3)
Nasa Rocket
Products you’ll need (3)
Materials
For the space suit:
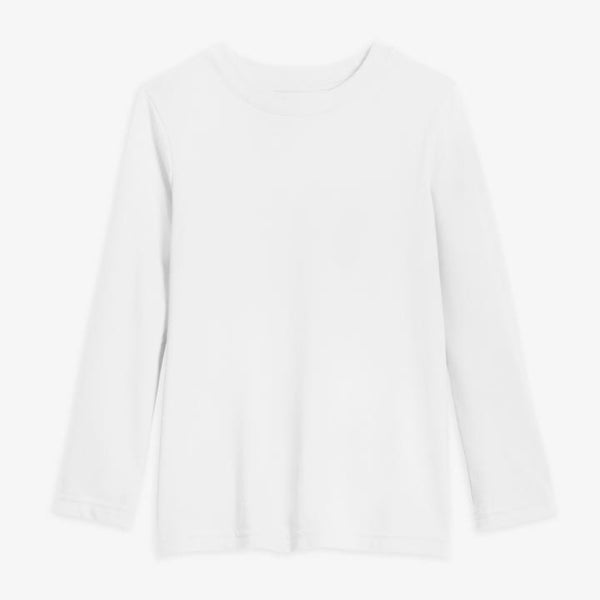
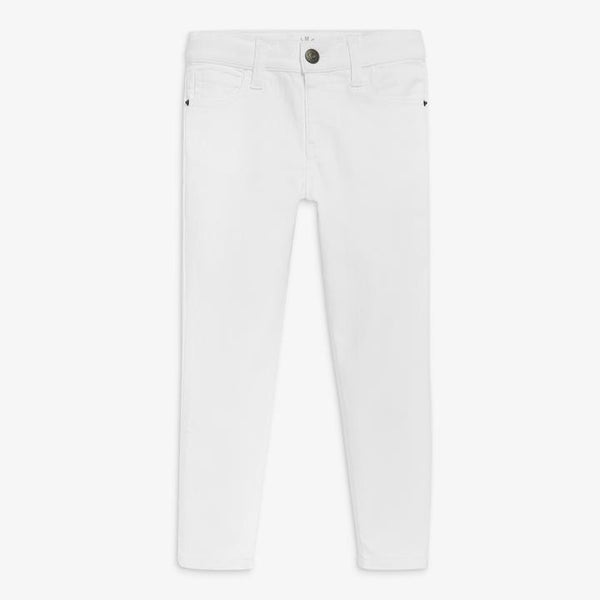
- One white kids outfit (1-2 sizes smaller than your child wears)
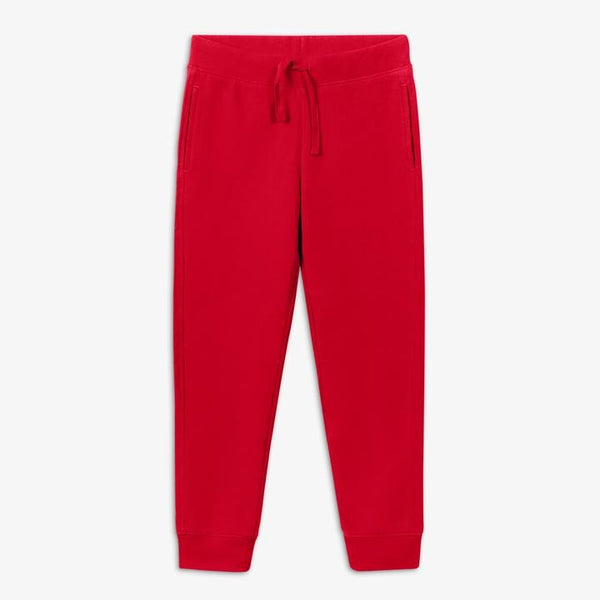
- One red kids bottom
- 1/2 yard of red felt or fleece
- 1/2 yard of orange felt or fleece
- 1/2 yard of yellow felt or fleece
- 1 piece of black felt (only about a 5 by 7 piece needed)
- Stuffing (polyfil, tissue, or newspaper-- light weight stuffing!!)
- Aluminum Dryer Vent - two pieces cut at about 8-12 inches each
- Pair of black socks
- Belt
- Optional: small American Flag patch, NASA patch, Commander lettering, Blue baseball cap
For the rocket pack:
- Old used backpack
- 2 solo cups
- 2 two liter bottles (empty)
- 2 large cylinders (oatmeal containers work)
- Small piece of plywood or board. (Example used an old shelf laying around) sized to be roughly as wide as your child's shoulders and slightly shorter than their torso.
- Silver spray pant
- Small pieces of the yellow, orange, and red fleece/felt used for "fire pants"
Tools
- Duct tape
- Hot glue gun and sticks
- Scissors
- Three big safety pins
Instructions
For the "fire pants":
- Cut flame shapes out of red, orange, and yellow fleece or felt. Layout on the bottoms in rows from waist down to make sure your area is covered to your liking.
- No flame has to be perfect! Just cut and layout! Glue down (or sew) when you are happy with your results.
For the floating space legs:
- Stuff bottom portion of the small size white leggings with newspaper or polyfil to give the bottom shape of the legs.
- Stuff each "thigh" portion of the white leggings with a piece of the aluminum dryer vent - cut to your liking.
- Be sure to allow the "knee area" to bend downward to the calve stuffing.
- Leave lower body portion of leggings unfilled to easily wrap around the belt.
- Stuff black socks with polyfil and glue (or sew) to the bottom of the white leggings legs to look like feet.
For the space top:
- Take the white top and cut black felt to become a black space collar. It can simply be glued, safety pinned, or fabric-taped along the neckline, or you can get fancy and position it to be glued (or sewn) to stand up.
- Use resources like a Circut to create NASA, Commander, or spacesuit decor, or simply find patches to glue (or sew) onto the top.
For the final touches:
- If you choose - have a blue baseball cap for a headpiece and add a space emblem to it!
- Child puts on the red bottoms and white top. Take the belt and overfold the top of the white leggings over the belt top about twice and fasten to waist! (safety pin to belt if you wish)
For the rocket pack:
- Take the old backpack and cut out off front and sides leaving only the back with the straps still attached at the top and bottom of the piece.
- Using the duct tape, wrap the tape around the remains of the backpack and the board. The board provides a firm backing for the pack. Continue to wrap duct tape until the backpack cloth is totally covered and the pack is firmly attached to the board. Make sure to not cover the straps with the tape.
- Using hot glue or other adhesive, attach the two cylinders (oatmeal containers) next to each other at the center of the back of the pack.
- Cut the bottoms off of the 2 two liter bottles and toss the bottoms. Glue the remaining bottles to the cylinders.
- Glue the solo cups upside down on the tops of the two liter bottles. This will cover the bottle spouts.
- Let the glue dry and then spray paint the entire thing silver. It will take several coats to cover everything.
- Take some the felt flames that were cut for the pants and glue them at the bottom of the two liter bottles to look like flames coming out of the "rocket".
- Optional: if you have pinstripe tape or electrical tape you can add accent rings in red, white, and blue around the rockets.


