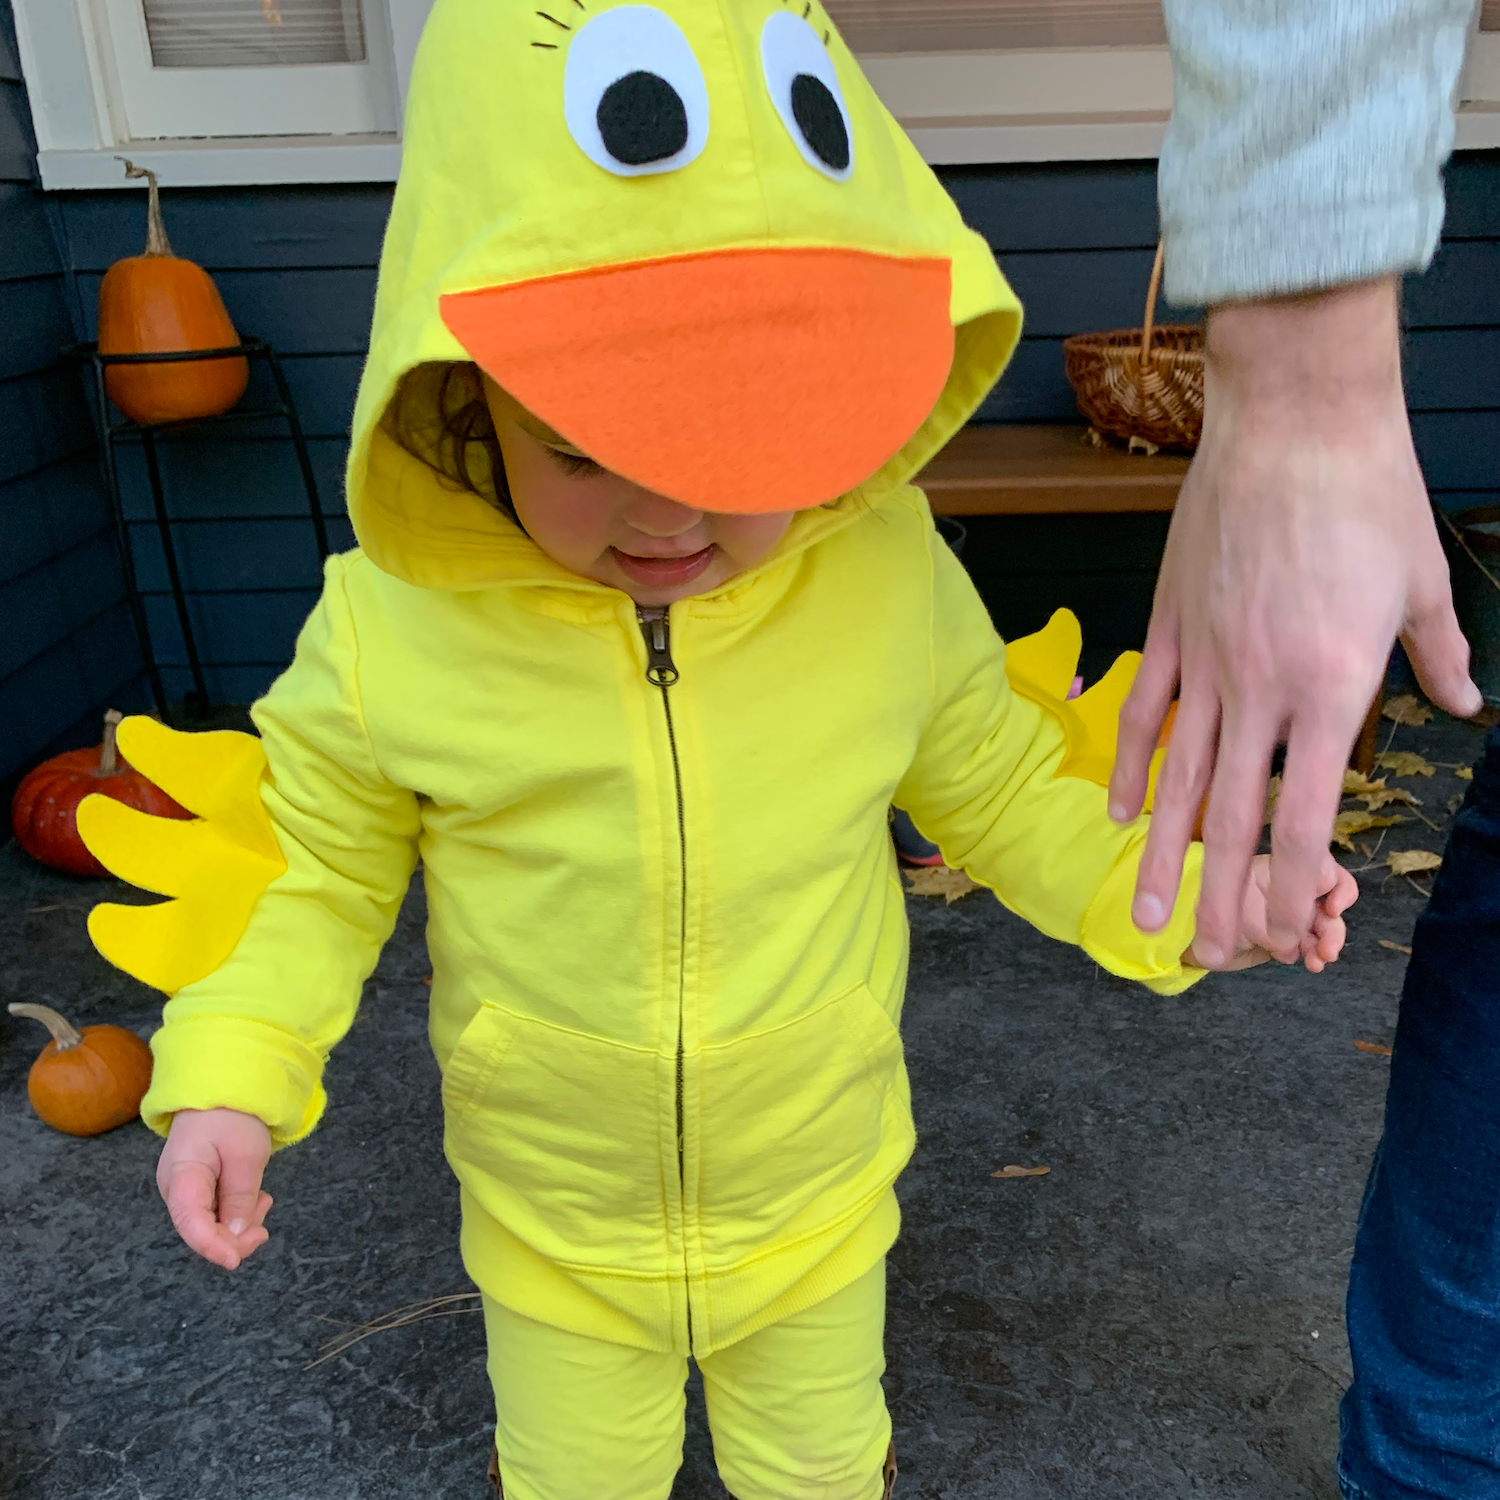
Image: @mama.and.the.wee.one
Products you’ll need (2)
Rubber Duckie
Products you’ll need (2)
Materials
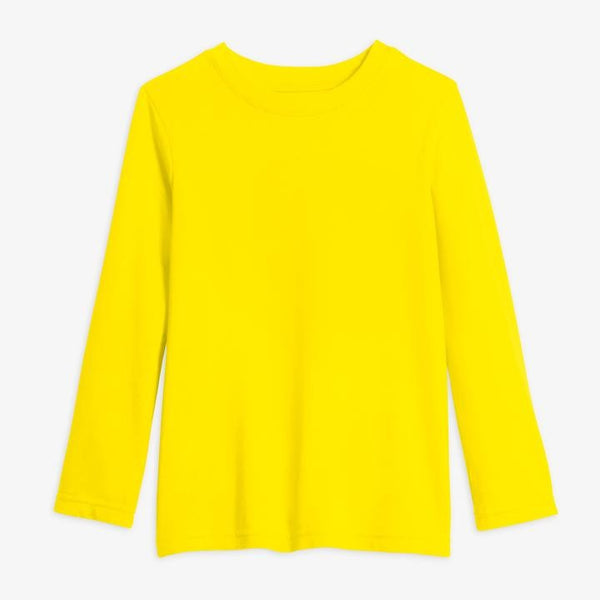
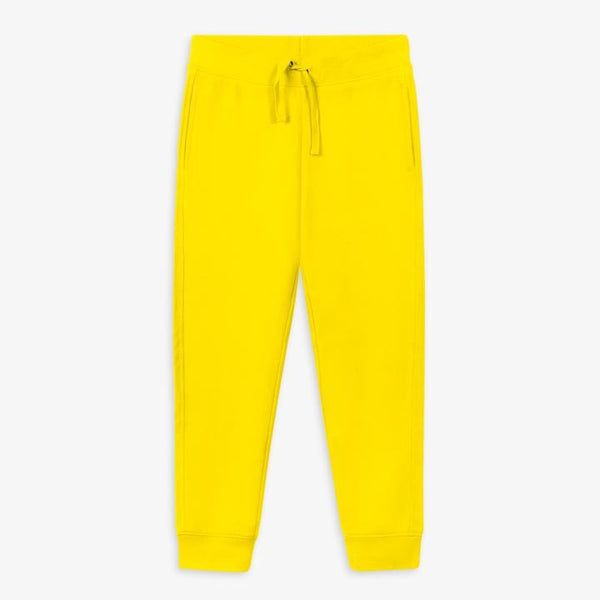
- One yellow kids outfit
- Yellow felt (3 sheets)
- Orange felt (1 sheet)
- White felt (1 sheet)
- Black felt (1 sheet)
- Scissors
- Fabric glue
- Black embroidery floss and needle (optional)
Instructions
For the wings
- Cut out 2 pairs of identical duck wings from yellow felt. Glue the outer half of the wings together. Open the inner half of the wings and glue to each elbow of hoodie so the wings stick out.
For the tail
- Cut out 2 identical tails from yellow felt. Glue the outer half of the tail together. Open the inner half of the tail and glue to the back of the hoodie so the tail sticks out.
For the beak
- Cut out 2 identical semicircles from orange felt. Glue the outer half of the beak together. Open the inner half of the beak and insert the top edge of the hoodie. Glue the beak to the hood.
For the eyes
- Cut out 2 identical ovals from white felt and 2 identical circles from black felt. Glue the black circles to the bottom of each white oval. Glue the white ovals to the hood above the orange beak.
For the eyelashes (optional)
- Use black embroidery thread and a needle to sew three eyelashes above each eye. Alternatively, cut out eyelashes from black felt and glue on to the hood, or use black puff paint to create eyelashes.
Pro-Tips
- For extra durability, use a sewing machine or a needle and thread to reinforce anywhere the felt is attached to the hoodie. Additionally, adhesive felt (with adhesive backing) works great and sticks to itself! It can be used with or without fabric glue.

