Image: @jdusty
Products you’ll need (1)
Slug
-
Has instructions
Products you’ll need (1)
Materials
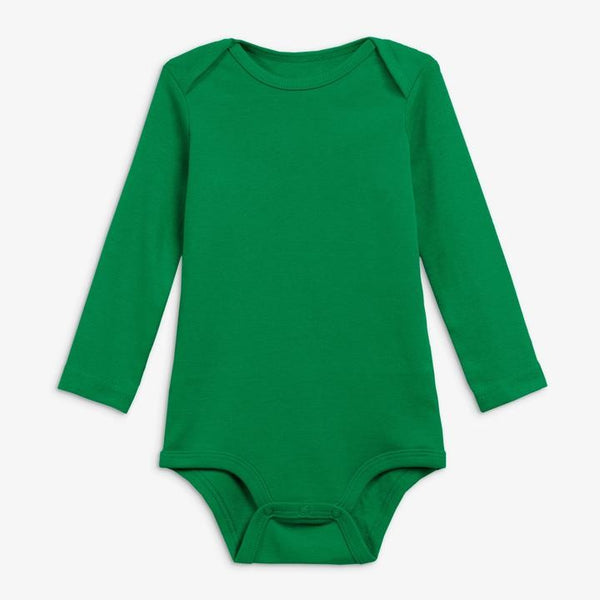
- One green baby outfit
- Green fabric (enough for slug body)
- iridescent fabric
- No-sew velcro strip or circles
- 4 green pipe cleaners
- Cotton ball googly eyes
Tools
- Scissors
- Hot glue gun
- Sewing pins
- Sewing machine
- 2-4 safety pins
Instructions
For the body:
- If you have a sleep sack that fits baby, use that as a guide for size and shape. If not, measure the length of baby from shoulders to feet and then grab a bodysuit that currently fits as a guide for width.
- Take enough slug fabric to put your sleepsack on top of and fold it in half with the side of the fabric you want on the inside showing. Work on the wrong side of fabric.
- Use pins to mark the shape of slug body and hold the 2 pieces of fabric together. Add about a ½ inch or so extra for extra room. You are making it sleeveless so don’t worry about arms. Make the bottom a bit longer and taper it, rounding at base.
For the slime trail:
- Take your iridescent fabric and decide how wide you want the trail to be. A little more than half the width of slug outfit works well. Cut your slime trail fabric to this width. You can work on shape and length of it later.
- You will want your slime trail fabric to come out of the base. Place your slime trail fabric sandwiched between the right sides of fabric and pin in place just at the base where the trail will coming out. If there is a lot of excess, fold it and safety pin it in there so it won’t accidentally get sewn into the side seams.
- Once you’ve got all your pins in place, cut the shape out, giving yourself at least ½ seam allowance.
- Now sew from under one armhole (still wrong side of fabric showing) around to under the other armhole. Do not sew the tops of shoulders together - this is how you get baby in and out!
- At the base you will be seeing three pieces of fabric - 2 slug body sides and the slime trail. After sewing, you can trim your seam allowance closer to the seams if you want.
- Turn the slug body right side out! Take out all your pins.
- Your slime trail should be coming out the base since it was sewn into the seam there. Cut your slime trail fabric to the shape you want it to be. Wavy perhaps!
For an extra step:
- Extra step if you want & are good at sewing - finish your seams at armholes, neckholes and 4 tops of shoulders.
- Place adhesive Velcro circles (or strips cut to fit) at tops of shoulders - I used 2 circles on each shoulder, 4 total. It looks best if the back side overlaps over the front to close. So put one part of Velcro on the inside of fabric for the back top shoulder and then the connecting part on on the right side of fabric on top shoulders in front.
For the hood:
- If you’re using one of our baby tops or a pilot cap ignore this next sewing step!
- If making your own hood, use a baby hat or hood that fits your baby your as a guide. Note where the seams are. If it has a center seam or a panel through the center, you will be replicating this. If it has center panel - take some paper and trace the panel shape and cut out.
- Place this on fabric, pin then cut away excess fabric but leave a ½ inch at least seam allowance. Then mark your 2 sides of the hat/hood on your fabric - you can use paper again to make a pattern or pin directly to each side one at a time.
- Pin 3 pieces together, seam allowance showing on wrong side. Sew together and then turn inside out.
- Attach ribbons or strips fabric to base to tie to keep on baby’s head.
- Hot glue your googly eyes to green pipe cleaners. I used 2 per eye for reinforcement, twisting them around each other. Then fold pipe cleaners at least in half to make shorter, I would make shorter than I did so eyes don’t flop over as much.
- Twist the excess again around the shorter base. Then since you folded them, stick your safety pin through the loop at bottom and pin to hood/hat!
